Showing posts sorted by date for query butter. Sort by relevance Show all posts

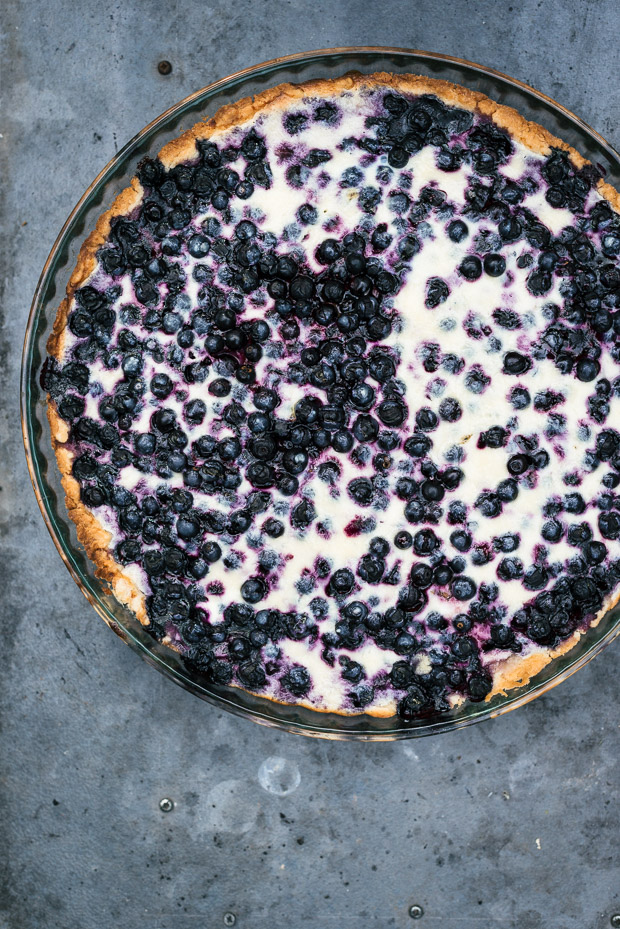
Finnish Blueberry Pie

Finnish Blueberry Pie | Sarka Babicka Photography

I returned from a holiday in Finland last week and all I can think of is a blueberry pie. It's been about five years since we were last in Finland but it felt like a year ago. That's what happens when you meet great friends again. It all comes back to you instantly, so many memories of all the great times we shared. Those are the best holidays. I came back relaxed and well rested.

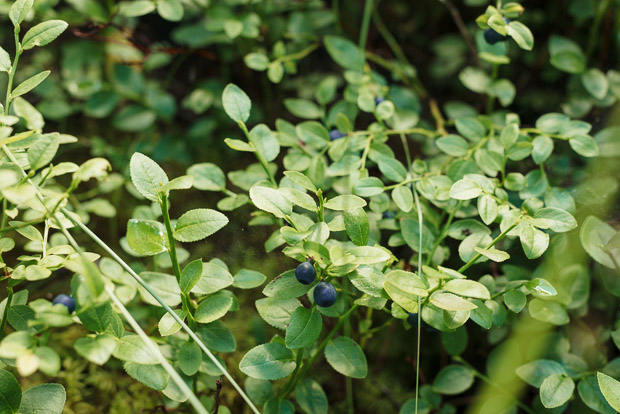
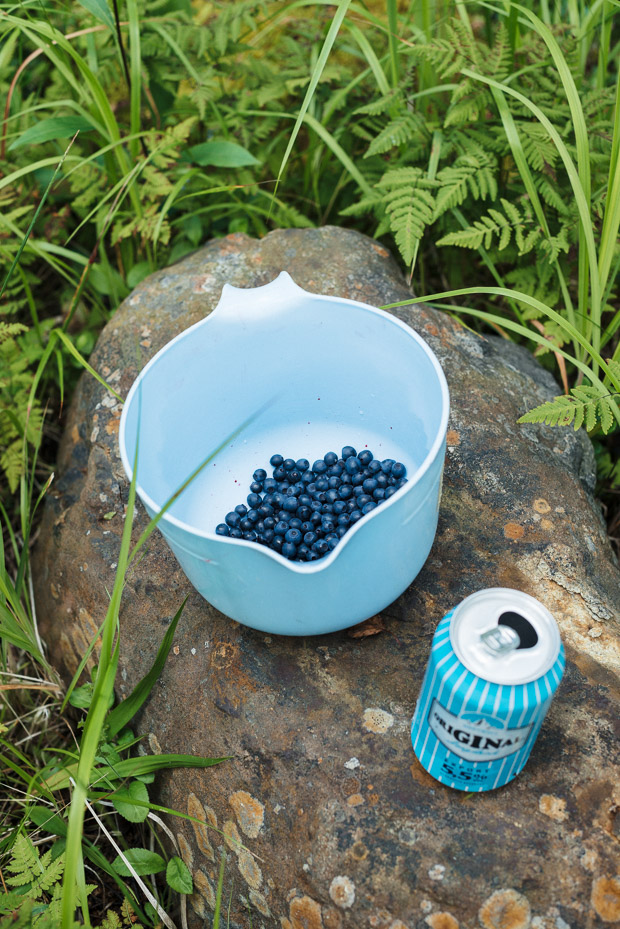
I'm a big fan of simple and delicious recipes. Many Finnish recipes are just like that. All you need to make a perfect meal are a few fresh, seasonal ingredients. Blueberry season has only started when we arrived at out friend's summer cottage but the forest floor was already covered in a beautiful blue carpet. It's hard to get wild forrest blueberries when you live in London so I usually go a bit nuts when I can pick these sweet blue jewels. Wild blueberries are the real deal unlike the commercially grown ones. They taste so much better!
I usually prefer all fruit raw, but when life gives you liters of blueberries you have to make a pie. I obviously had to ask my friend to share her recipe. It's the simplest and most delicious blueberry pie I've ever had.

Blueberries | Sarka Babicka Photography Blueberries and GLD, Finland | Sarka Babicka Photography
English Toy Terrier, Finland | Sarka Babicka Photography Finland | Sarka Babicka Photography

_ _ _ _ _ _ _ _ _ _ _ _ _ _ _ _ _ _ _ _ _ _ _ _ _ _ _ _ _ _ _

Finnish Blueberry Pie
Serves about 8

Ingredients

For the dough
100g unsalted butter, melted
1 eggs
75g sugar
180g plain flour
1tsp baking powder

For the filling
1 egg
200ml soured cream
75g sugar
blueberries


Method
Preheat oven to 200 degrees C. Grease a 20-23cm/8-9inch pie tin or pan. In a medium bowl, mix together sugar and egg, add the melted butter and stir well until combined. In another bowl, mix flour and baking powder and add it to the butter mixture. Stir together to form a soft dough. Pat the dough evenly over the bottom and sides of the pan. Add a lot of blueberries on top to fill the pan.
In a mixing bowl, combine sour cream, egg and sugar and pour over the blueberries. Bake for about 30 minutes. Let the pie cool down before slicing.


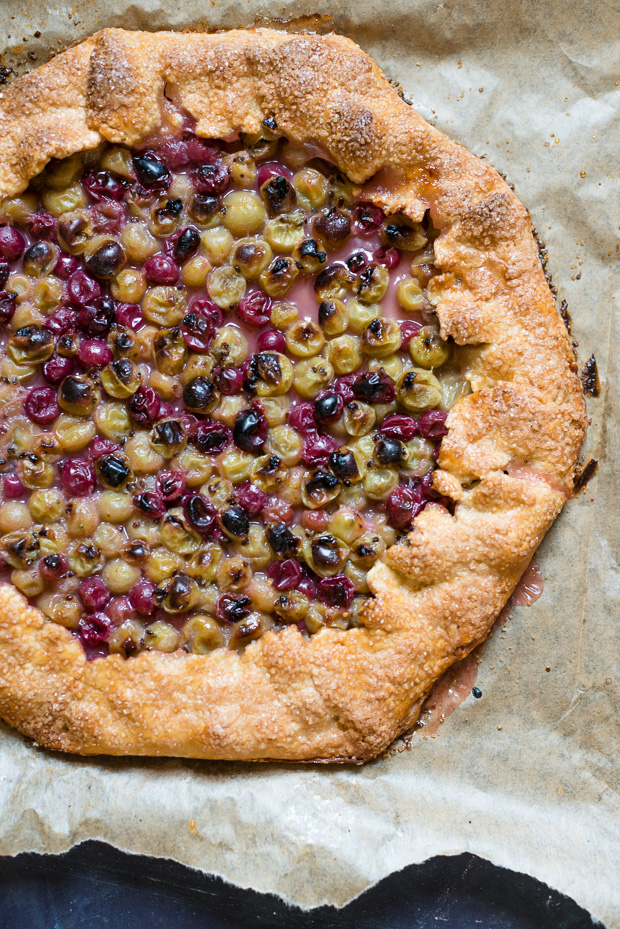
Gooseberry Galette

Gooseberry Galette

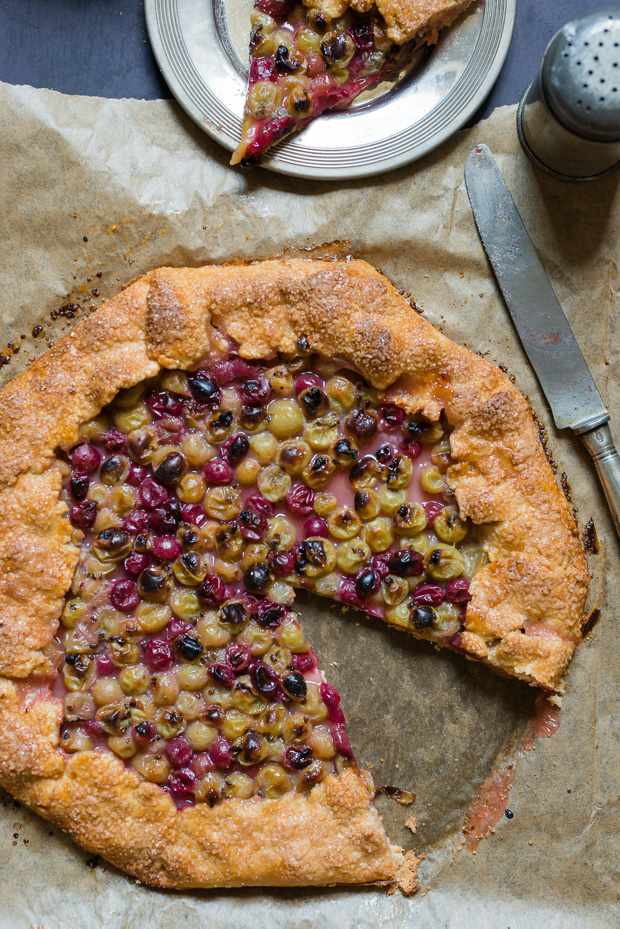
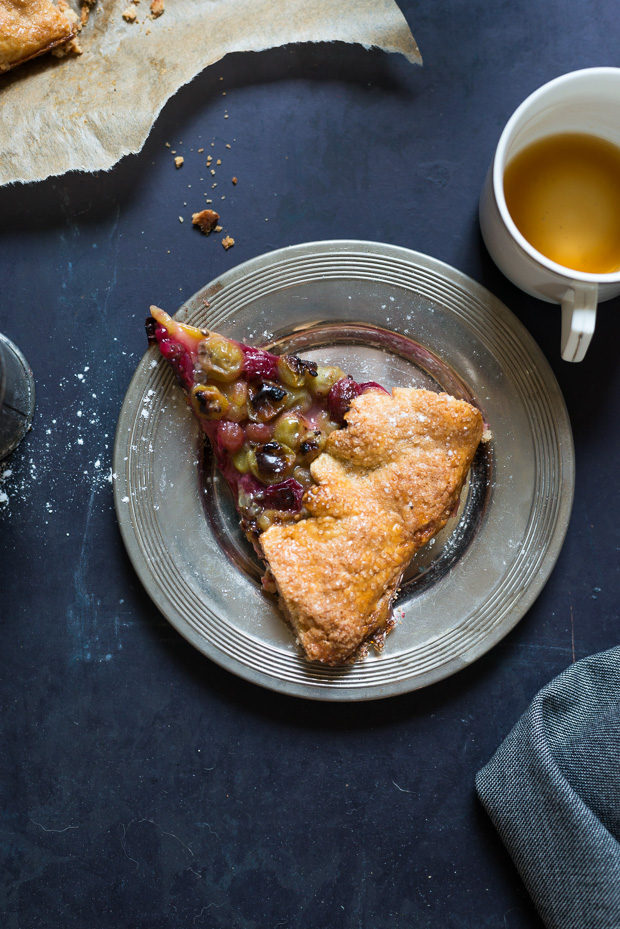
I wish summer could last forever or at least 6 months. There are so many reasons to love this season but fresh produce is one the most important ones; strawberries, blueberries, raspberries, gooseberries, red currants, cherries, green peas, tomatoes, radishes to name just a few of my favourites. This summer is especially amazing because I can enjoy fresh fruit and vegetables everyday. Morning yogurt with granola and freshly picked berries, lunch salads made from crunchy lettuce and greens, handfuls of fresh picked berries going straight in my mouth, snacking on radishes that were just washed off the dirt, that's my everyday reality and I can't even imagine it's going to end in a few weeks. I've been also baking a lot. Gooseberry galette was my latest experiment and I'm definitely going to make it again. My gooseberries were more on the sweet side, so I was surprised that they turned out to be quite tart and acidic after baking. However, I really like the contrast of sweetness of the crust and acidity of the gooseberries in this galette. It's a perfect hot summer day dessert.

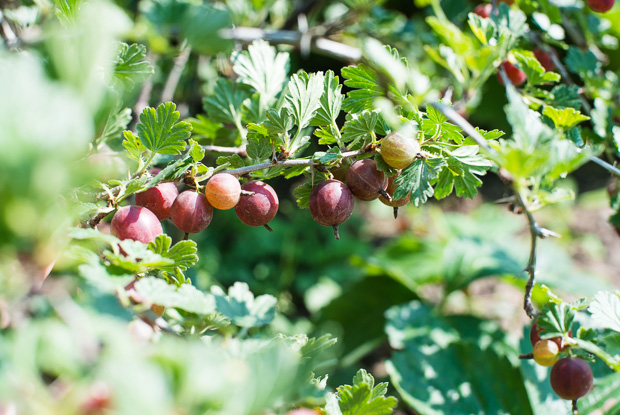
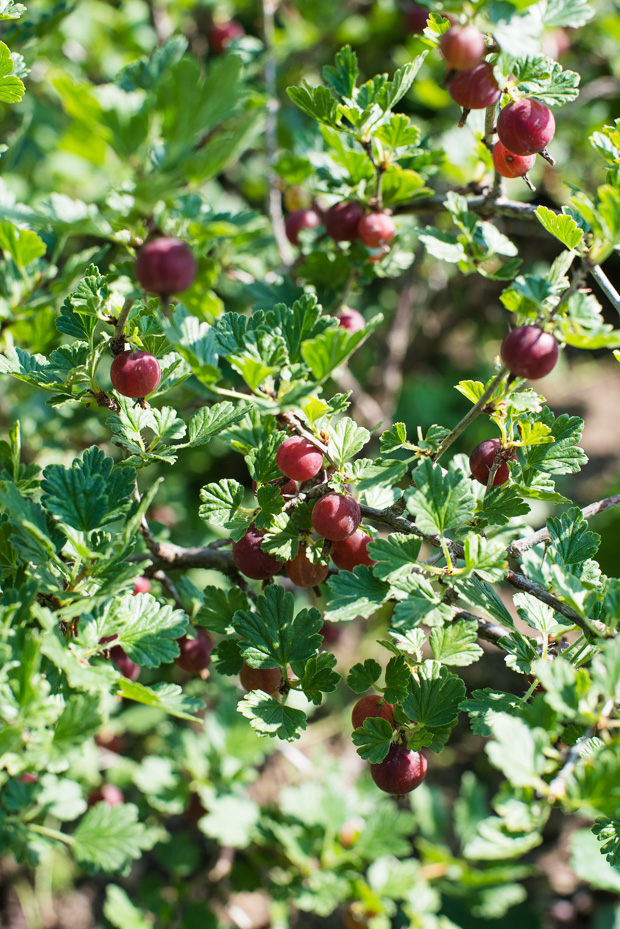
Red Gooseberries
Red Gooseberries
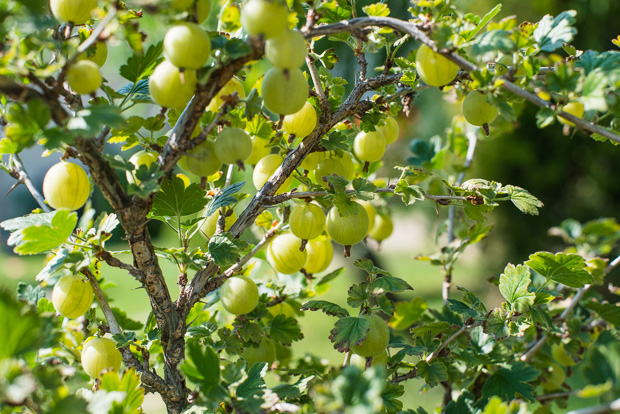
Gooseberries
Gooseberries
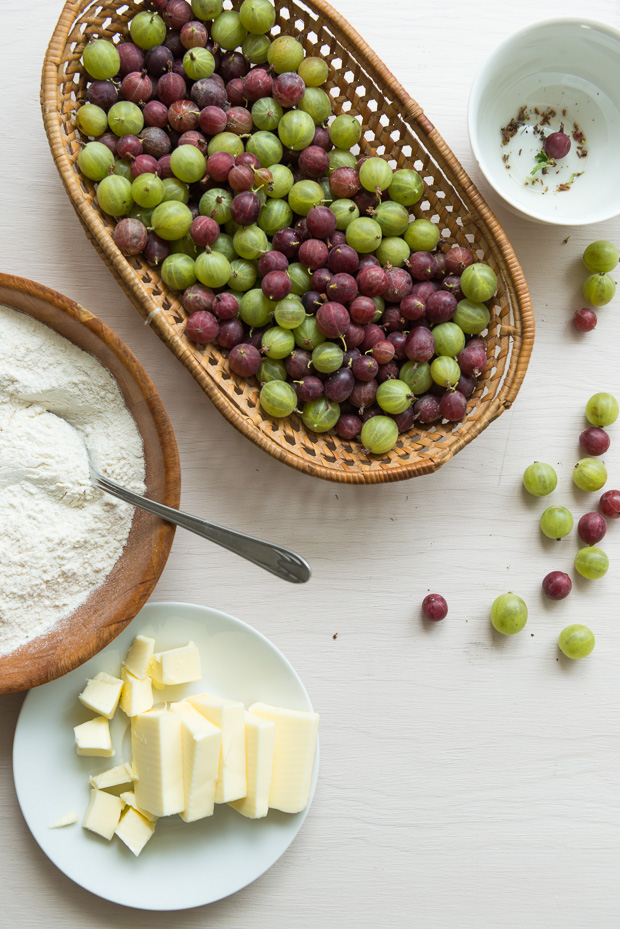
Gooseberry Galette
Gooseberry Galette

_ _ _ _ _ _ _ _ _ _ _ _ _ _ _ _ _ _ _ _ _ _ _ _ _ _ _ _ _ _ _ _ _ _ _ _ _ _ _ _ _ _ _ _ _ _ _ _ _ _ _ _


Gooseberry Galette
Serves about 8

Ingredients
125g plain flour
125g spelt flour
2 tbsp golden cane sugar
1/4 tsp salt
115 g cold unsalted butter, diced
3 tbsp cold milk
500g fresh gooseberries, topped and tailed
35g golden cane sugar
1 egg for egg wash

Method
Combine flours, sugar and salt in a medium bowl, then add diced butter and using your hands rub the butter in to the flour until you have pea sized crumbles. Add the cold milk and blend everything together with a fork. Do not knead the dough, just gather the clumps into a ball.
Wrap it tightly in plastic wrap and flatten it a bit. Refrigerate for at least an hour. (I left the dough in the refrigerator for two days, because I didn't have time to bake the galette the same day.)

Preheat oven to 180℃. Unwrap the dough and press the edges so that there are no cracks. Dust a sheet of parchment paper with flour and roll out the dough into a 25cm circle about 0.3 - 0.5cm thick. Transfer the dough on the parchment paper to a baking sheet. Sprinkle over the gooseberries, leaving a 5cm border. Sprinkle with most of the sugar, reserving 1 tbsp of sugar to sprinkle over the edges. Fold the edges over the gooseberries, brush the edges with egg wash and sprinkle with the remaining sugar.

Bake on the lower half of the oven for about 35-40 minutes until the crust is golden brown.


Cocoa Brownies and Happy Easter

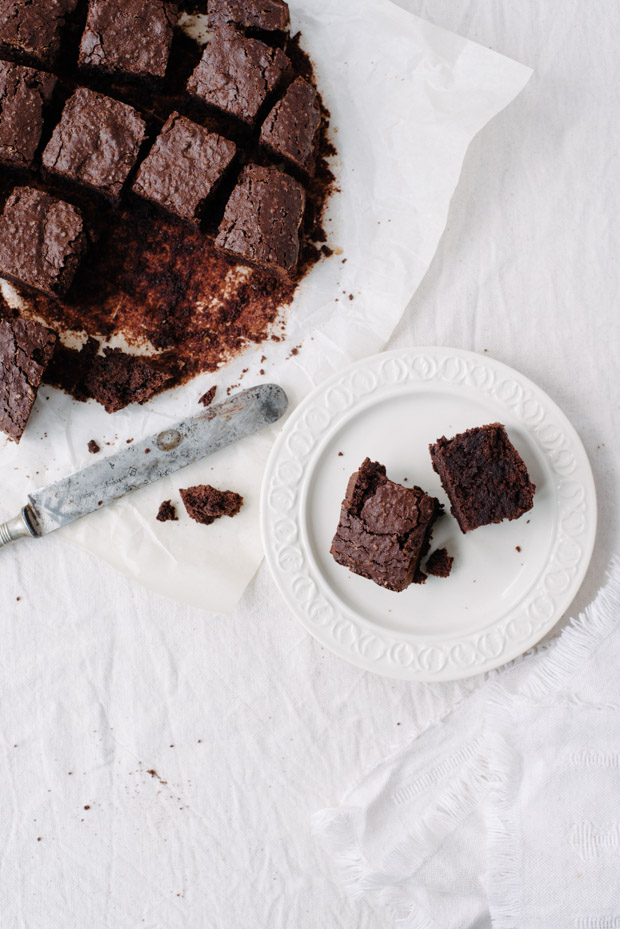
Chocolate Brownies

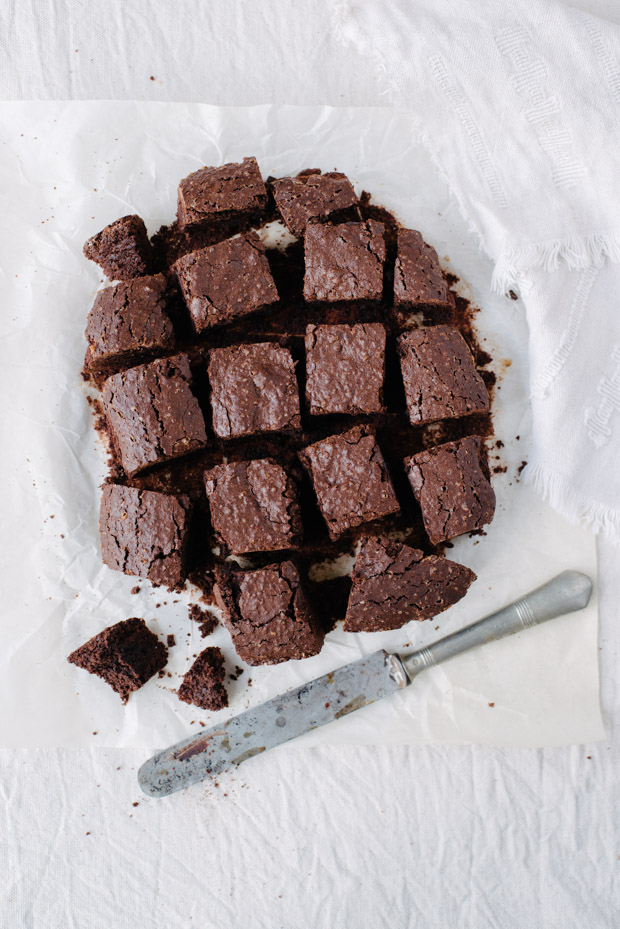
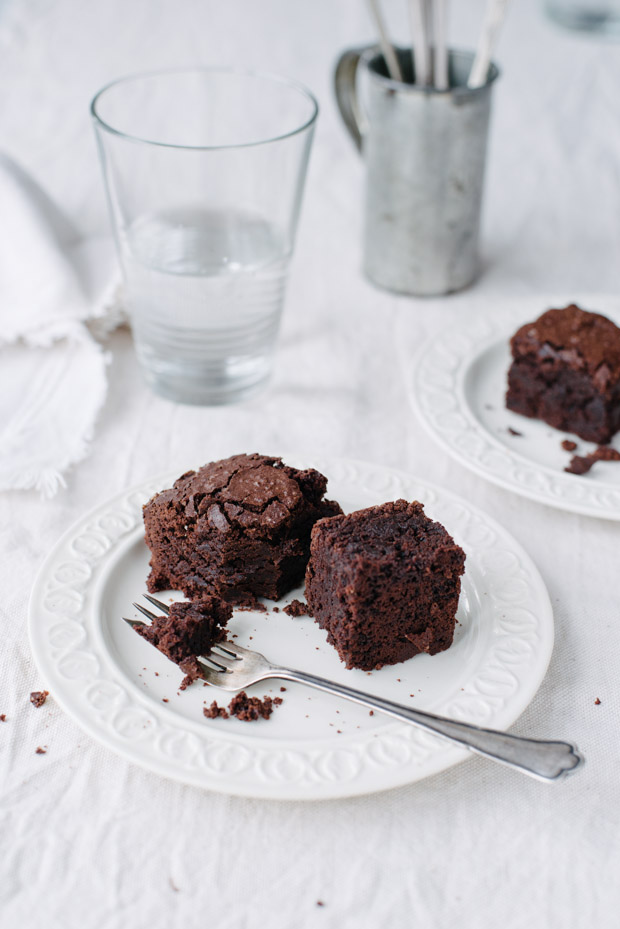
The only advantage of current weather is that I can enjoy a piece of brownies with a cup of hot tea without feeling guilty. This freezing cold weather simply calls for a comfort dessert and these chocolate brownies really hit the spot.

Spring is nowhere in sight. This winter has been too long but it just won't let go. Weather forecast predicts freezing temperatures and more snow all over Europe. So instead of cleaning and decluttering houses or preparing gardens for the return of warm spring days, most people spend time shovelling snow, defrosting cars and snuggling up on a sofa with a cup of hot beverage in hands. 
I spotted some beautiful yellow daffodils emerging in parks and gardens, bringing a little bit of colour into grey and gloomy days. But it's still not enough and I'm longing for warm days filled with sunshine. 

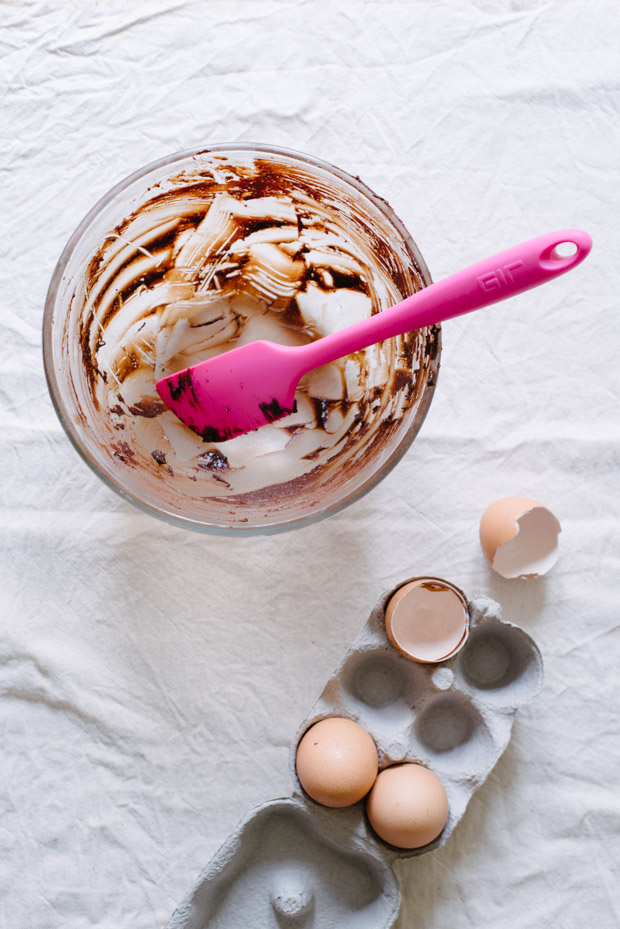
GIR spatula

If I can't have sunshine, I can have chocolate! I found this brownie recipe at honey & jam blog when I was looking for a fast and simple, moist and gooey brownie recipe which I could bring to a friend's house. It was still slightly warm when we ate it the first time. Everyone loved it and these brownies disappeared in minutes. I made them a few more times and it was always a great success.

Making these brownies was a great opportunity to use my new favourite GIR (Get It Right) spatula for yet another task. I got this lovely spatula about a month ago and I completely fell in love. It became one of my favourite kitchen tools. It's beautiful and functional which are, for me, two main properties of any good product. And here's why I love it so much. I already mentioned they are beautiful, right? They come in eleven colours (wish I had a teal or lavender one) and have a perfect shape. But most importantly I use it for shallow frying, sautéing or stirring hot food which is something I had never imagined using a rubber spatula for (because they normally melt). This spatula can be used at any temperature! I always used rubber spatulas only for stirring and mixing ingredients or scraping bowls. I think all my wooden spatulas have been a bit jealous and feeling abandoned since I got this one. It did a great job even with my brownies.

You might have noticed that I try, after a long break, get back to regular blogging. However, I'm might not be able to update my blog for a while, since we are currently packing for a month holiday in New Zealand starting on Tuesday. I'll definitely post many photos from out trip on my instagram and try to post some here as well when I get a chance. So stay tuned.

In the meantime, I wish everyone a happy Easter!

Chocolate Brownies

Chocolate Brownies

PS: I don't normally do product reviews and nobody asked me to write about GIR spatula, but I love the product so much that I thought I would mention what a great job folks over at GIR did designing it.

_ _ _ _ _ _ _ _ _ _ _ _ _ _ _ _ _ _ _ _ _ _ _ _ _ _ _ _ _ _ _ _ _ _ _ _ _ _ _ _ _ _ _ _ _ _ _ _ _ _ _ _

Cocoa brownies
Adapted from Alice Mendrich's Bittersweet via honey & jam


Note: I like my brownies a bit thicker so I used a smaller pan and increased baking time. If you prefer a standard thickness, use a bigger pan about 20 x 20 cm and bake only for 25 to 30 minutes.

Ingredients

140 grams unsalted butter
280 grams light brown sugar
90 grams unsweetened cocoa powder 
1/4 teaspoon salt
1/2 teaspoon pure vanilla extract 
2 large eggs
65 grams plain flour

Method

Position a rack in the lower third of the oven. Preheat oven to 170 ℃.

Line a 16x19 cm baking pan with parchment paper.

In a medium heatproof bowl, combine butter, sugar, cocoa powder and salt. Microwave for 1 minute and 30 seconds. Alternatively, set the bowl over a saucepan of simmering water (make sure the bottom of the bowl doesn't  touch the water), stir occasionally, until butter is almost melted.
Remove from the microwave / saucepan and stir until butter is completely melted and all ingredients are incorporated. It will look fairly gritty at this point.

Stir in vanilla. Add the eggs one at a time, stirring vigorously after each one. When the batter looks thick, shiny and well blended, add in flour and stir until fully incorporated. Then stir vigorously for a few seconds.

Pour the batter into a lined baking tray, spread evenly with a spatula. Bake until a wooden screwer or toothpick inserted into the centre comes out slightly moist with batter, 40 to 45 minutes.

Remove brownies from pan using the parchment overhang and transfer to a wire rack. Let cool before cutting. 

_ _ _ _ _ _ _ _ _ _ _ _ _ _ _ _ _ _ _ _ _ _ _ _ _ _ _ _ _ _ _ _ _ _ _ _ _ _ _ _ _ _ _ _ _ _ _ _ _ _ _ _

Leek and Feta Filo Tartlets

Leek tartlets

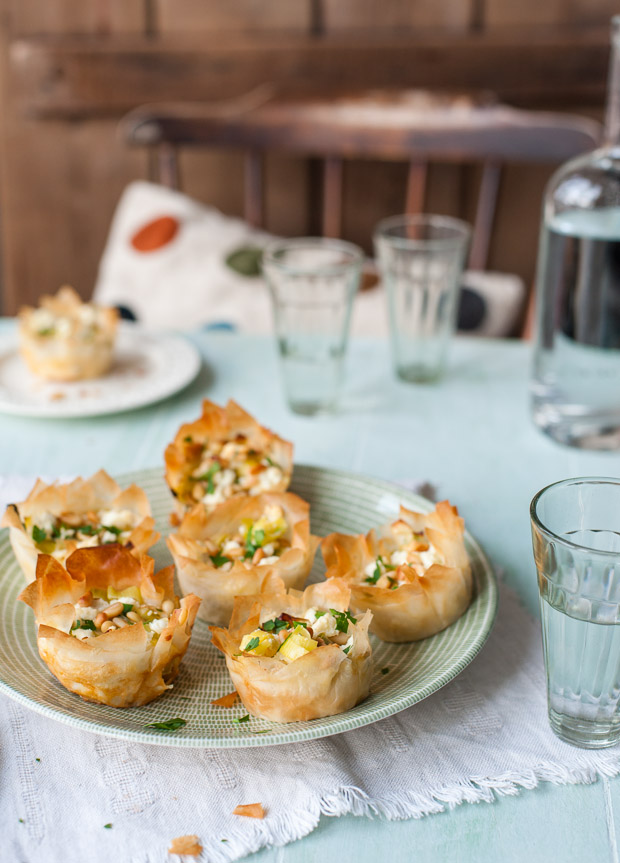
I've been absent on this blog for what seems like ages. I was hoping to get back to blogging after the busy summer. I'm not even trying to talk about things like regular blogging, because let's be honest, my blogging frequency is not very high and it's certainly rather irregular. However my work schedule didn't allow me to spend time working on my personal projects. Or maybe it's just an excuse.

Anyway, I have a very good reason to be back today. I'm very excited to participate in a little surprise baby shower for Emiko who is expecting a baby girl soon!


I met Emiko in person last year at FBC, shortly before she moved from Italy to Australia. She is such a sweet person and I wish we could be with her celebrating this exciting time of her life. Although the distance makes is quite complicated to get together, no distance can stop food blogger friends from sharing their love through food and blogs. Since we all live in different places, we decided to organise a virtual baby shower. Together we have created a baby shower menu to celebrate Emiko's soon-to-arrive bundle of joy.

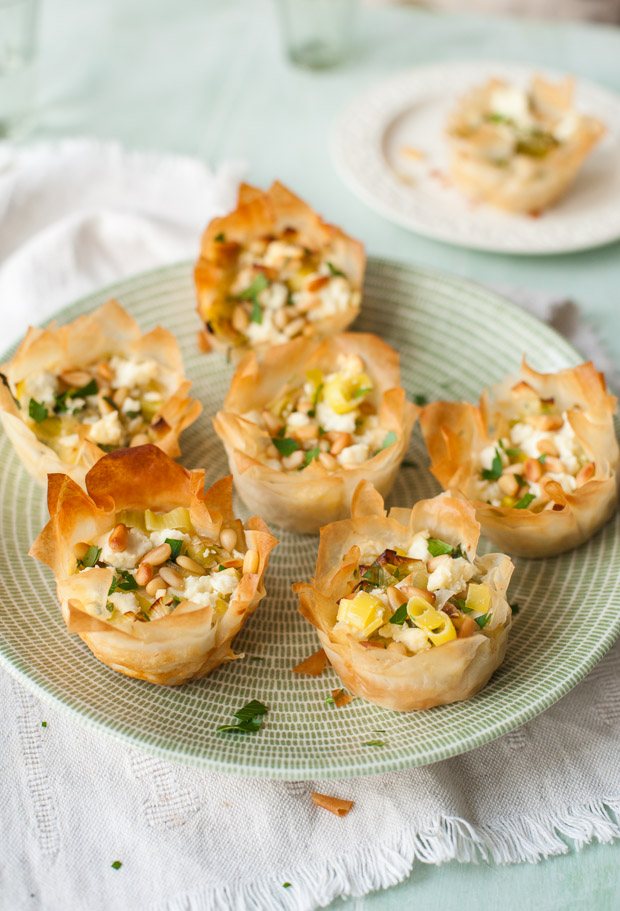
These mini tartlets are for you Emiko, I hope you would like them. I wish you and your husband joy and happiness in your life with your precious baby girl!

Sarka Babicka

Here is the final menu for the virtual baby shower:

Giulia: Birthday sponge cake
Regula: Cobnut brandy
Jasmine: Cookies
Zita: Vegan pumpkin chocolate cookies
Karin: Flourless chocolate cake with pears - La Belle Helene
Rosella: Soft cheesecake
Valeria: Gingerbread banana muffins

_ _ _ _ _ _ _ _ _ _ _ _ _ _ _ _ _ _ _ _ _ _ _ _ _ _ _ _ _ _ _ _ _ _ _ _ _ _ _ _ _ _ _ _ _ _ _ _ _ _ _ _ _ _

Leek and feta filo tartlets
Makes 12 tartlets

Filling:
30g butter
2 leeks, trimmed and sliced
2 garlic cloves, finely chopped
2 tbsp, chopped parsley leaves
1/4 tsp grated nutmeg
2 large eggs
300ml creme fraiche
salt and freshly ground pepper

Filo cases:
40g butter
4 filo pastry sheets 30x35cm
85g feta cheese, crumbled
2tbsp toasted pine nuts

Melt the butter in pan add the leeks and garlic and sweat gently, stirring often, for 5 minutes until soft. Remove from the heat, stir in the parsley and nutmeg. Set aside.

Preheat oven to 180℃.

Melt the butter in a small saucepan. Lay one sheet of filo pastry on a flat surface, brush lightly with the melted butter and cut into 9 squares (10x10cm). Lay three squares of pastry on top of each other, turning each square so they don't line up and create a star shape.  Press into a buttered muffin tin. Repeat with another sheet of filo pastry to make 12 cases.

In a bowl, beat the eggs with creme fraiche, season with salt and pepper. Divide the egg mixture among the cases. Spoon the leeks on top and scatter with crumbled feta cheese and pine nuts. Bake for 15 - 20 minutes until the filling is set and the filo pastry is lightly golden.

Let cool slightly, remove from the muffin tin and serve.

_ _ _ _ _ _ _ _ _ _ _ _ _ _ _ _ _ _ _ _ _ _ _ _ _ _ _ _ _ _ _ _ _ _ _ _ _ _ _ _ _ _ _ _ _ _ _ _ _ _ _ _ _ _


Salmon, Spinach and Quark Quiche with Phyllo Crust

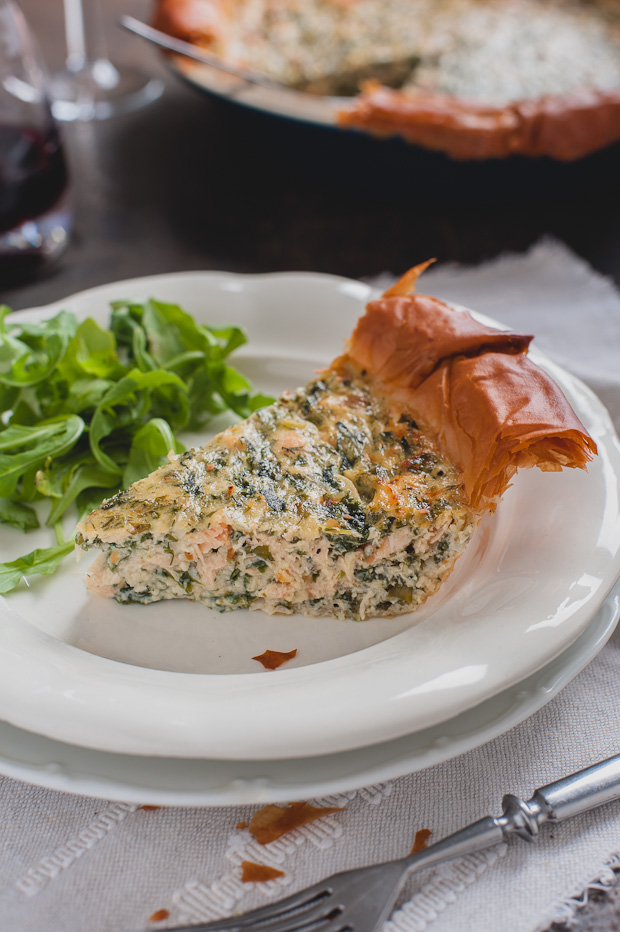
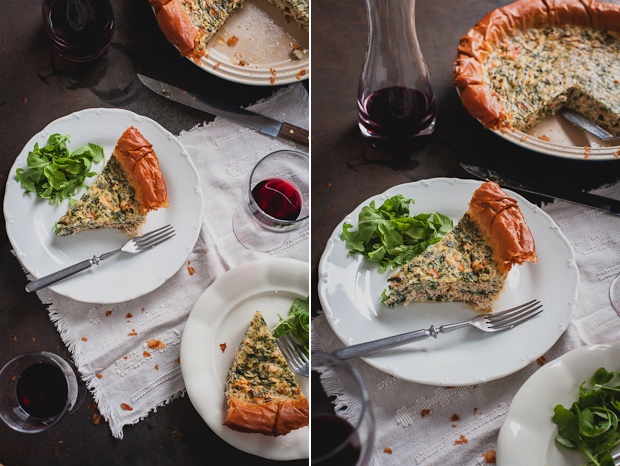
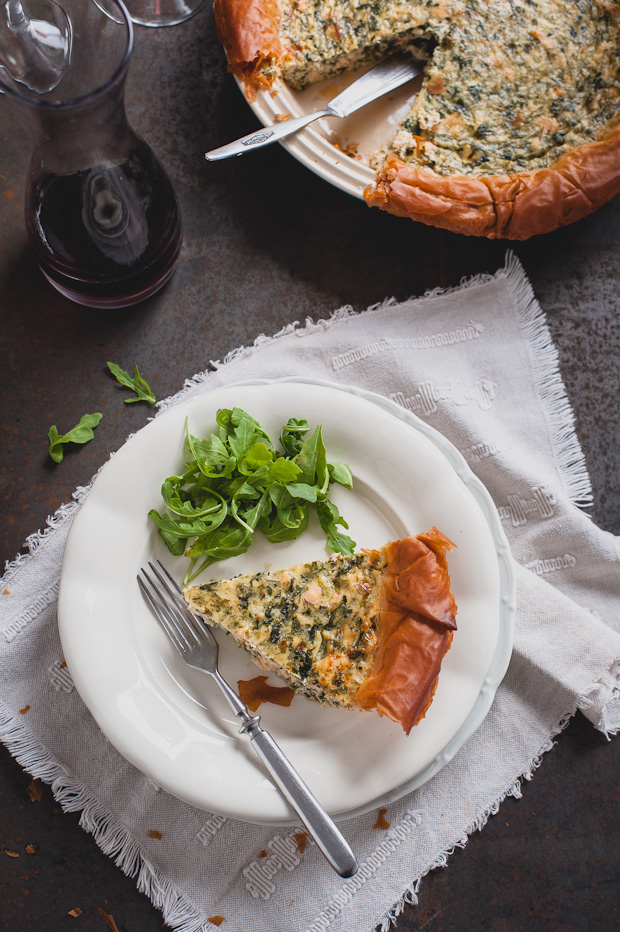
Salmon and quark quiche

I made this quiche a few weeks ago and it was a big hit in this house. It's so easy and taste great hot or at room temperature. I made the quiche for dinner and we enjoyed leftovers the next day for lunch. Served with fresh greens and a glass of wine, it's the perfect picnic or garden party food.

I decided to use phyllo pastry instead of a traditional pie crust. Was it my laziness or curiosity? I can't quite remember. However, P. welcomed the experiment with great pleasure as he's not a big fan of pie crust. The purpose of phyllo pastry in this recipe is to hold the filling, rather than to be a part of the dish. Although I really liked the crisp edges. Using quark was another experiment which worked great. I love quark desserts, but I don't remember ever using quark to make a savoury dish.

I used a lot of fresh herbs because I just love the flavour combination of salmon and dill. You can reduce the amount of dill or completely omit it if you don't like its taste. Also you can substitute spinach for kale or swiss chard.

Update: If you can't find quark you can be substitute it for ricotta. Quark is a European type of fresh cheese made from soured milk. It has a very soft and smooth texture with a lovely tangy taste. In the UK, quark can be found in almost any Polish shop/deli or in the international section of major supermarkets.

Salmon quiche
Salmon and quark quiche


Salmon, spinach and quark quiche with phyllo crust
Serves 6-8

225g fresh spinach
1tbsp butter
2 garlic cloves, chopped
1 bunch spring onions, sliced
3 eggs
300ml single cream
250g quark cheese
1/2 cup grated parmesan
3 tbsp chopped fresh dill
3 tbsp finely chopped fresh parsley
230g cooked salmon, torn into small pieces
pinch of grated nutmeg
salt and freshly ground pepper
60g butter
6 sheets of phyllo

Preheat the oven to 180℃.

Put the spinach in a pan and cook for 1-2 minutes, until wilted. Take the pan off the heat and squeeze out all the liquid. Finally chop the spinach and set aside.

Melt the butter in a pan, add the onions and garlic and sauté for 2 minutes on medium heat, stirring often, until slightly softened but not browned. Set aside.

In a medium bowl, whisk together the eggs and cream. Add the quark, parmesan, spinach, sautéed onions and garlic, herbs, salmon, nutmeg and gently stir to combine. Season with salt a pepper.

Melt the butter in a saucepan. Lay one sheet of phyllo on a working surface and brush with the melted butter. Place another sheet of phyllo on top of the first sheet, brush with the melted butter. Repeat process until all phyllo sheets are used. Transfer the phyllo into a buttered pie dish and trim the edges to fit the pie dish.

Pour in the filling and bake until the filling is set and the pastry is golden brown, about 35-40 minutes. Cool 10 minutes before slicing.


Green is The Colour - Kiwi Fruit Muffins with Coconut

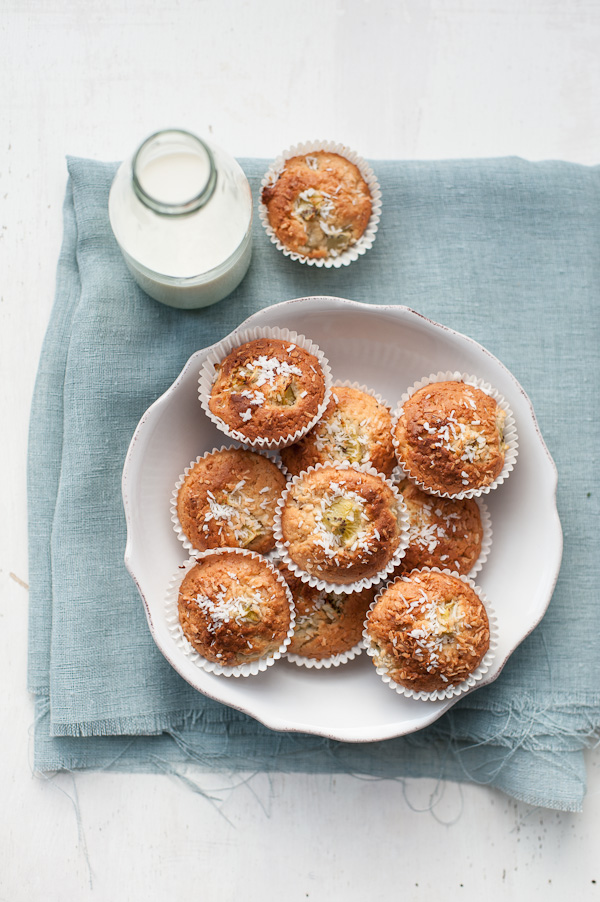
Kiwi fruit muffins

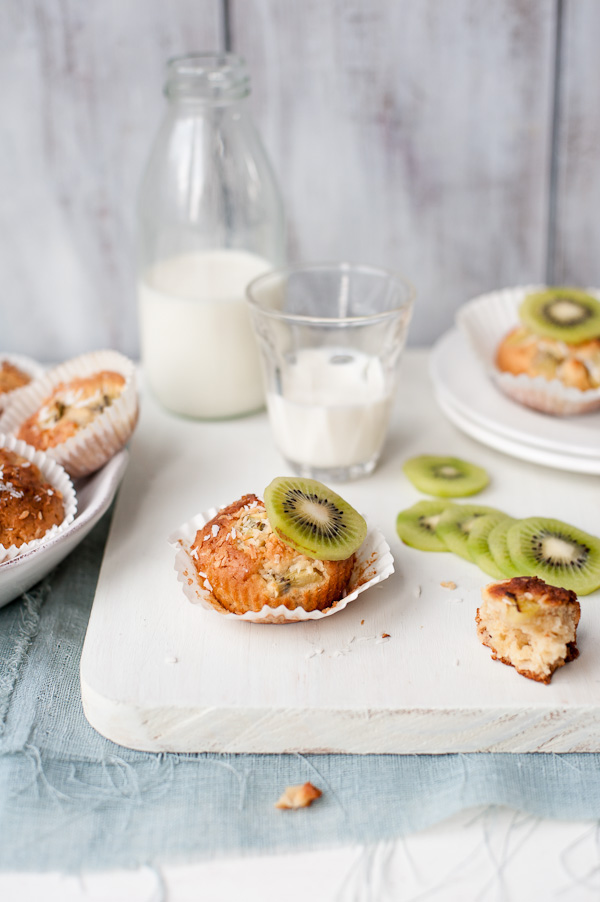
What is the colour of spring? Of course it's green! I need lots of this colour in my life. Generally, I need colours (and light) in my life, but green has a special place and meaning. Green to me represents freshness and vitality. It's a positive colour.

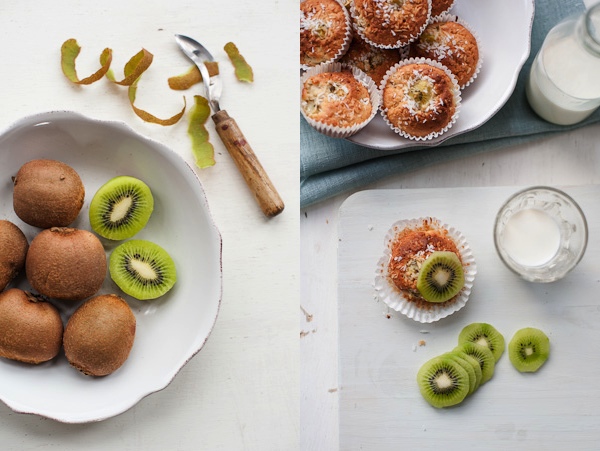
Last week I bought a basket of kiwi fruits. I blended a few of them with banana, grapes and apples for our morning smoothies or mixed them with yogurt. I still had so many kiwi fruits left and didn't know what to do with them. Then I suddenly came up with the idea of "green muffins". I loved the idea and started playing around. Sadly, the first batch was a complete disaster and ended up in the bin. I learned that you should never mash kiwi fruits and mix them with other ingredients, unless you want soggy inside and burnt outside muffins. Not my idea of light green soft and fluffy muffins at all. Second try was perfect!


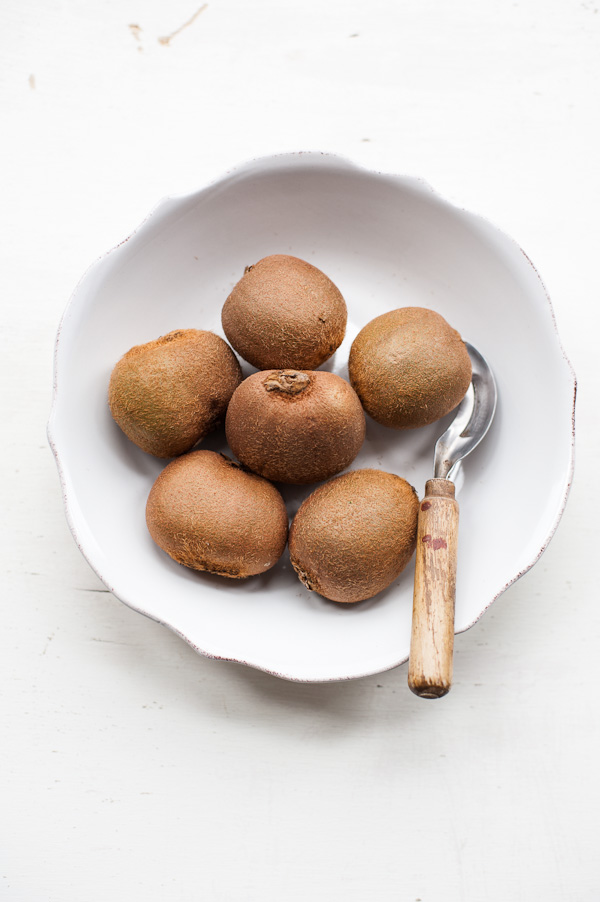
Kiwi fruits in a bowl
Kiwi fruit muffins
Kiwi Fruit Muffins

This recipe inspired me to experiment with kiwi fruit even more. I already drafted another two recipes I would like to try, so stay tuned!

In the meantime, I hope you enjoy my green muffins.

Kiwi muffins

Kiwi fruit muffins
Makes 8 muffins

75g self raising flour
40g plain flour
45g ground almonds
20g desiccated coconut
80g sugar
pinch of salt
60g melted unsalted butter, cooled
1 egg
65ml buttermilk
3 kiwi fruits, peeled and cubed
1tbsp desiccated coconut
1 kiwi fruit, peeled and sliced (optional)

Preheat the oven to 180℃.
Mix all dry ingredients in a bowl. In another bowl, lightly whisk the egg, stir in buttermilk and melted butter. Pour the wet ingredients into the dry mixture and stir until well combined. Gently stir in most of  the kiwi (reserve one tablespoon) and spoon the mixture into a lined muffin pan. Top the muffins with remaining kiwi pieces and sprinkle coconut on top.
Baked for 25-23 minutes until lightly golden and a skewer inserted comes out clean.
Let them cool down a bit before serving. You can serve them with fresh kiwi slices.


Sourdough Bread

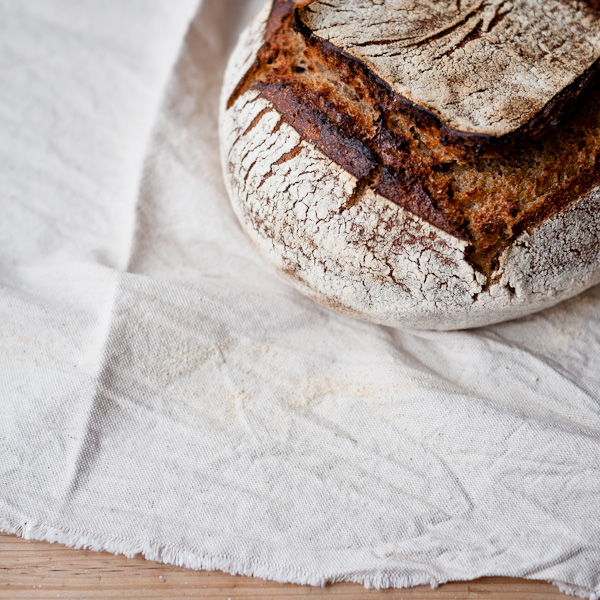
Homemade sourdough bread

It all started here and here. First I saw a beautiful loaf of bread on Green Kitchen Stories blog, then I watched a Dutch oven bread video by Kinfolk which suddenly sparked a fire of curiosity inside. That was when I decided I finally had to give it a try. I have been thinking of baking sourdough bread many many times before, but I have never found the right inspiration.

Fast forward a few failures later, I'm proud to announce I finally baked the perfect loaf of bread! A few days before we went to our little vacation in Italy (you can expect a photo heavy blog post soon), I baked my third sourdough bread and I was happy with the result. Actually, I was more than happy. I felt like a  child, dancing, jumping and clapping my hands.

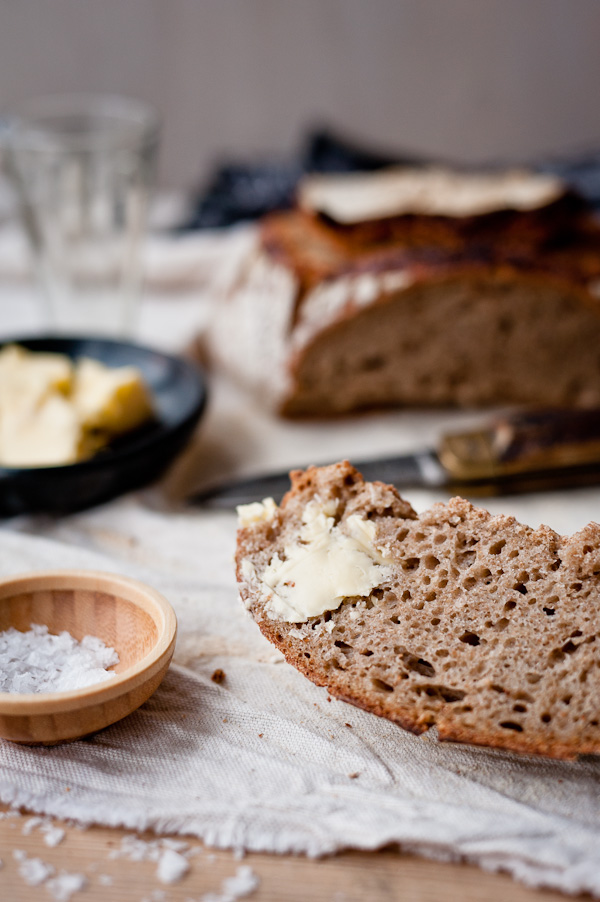
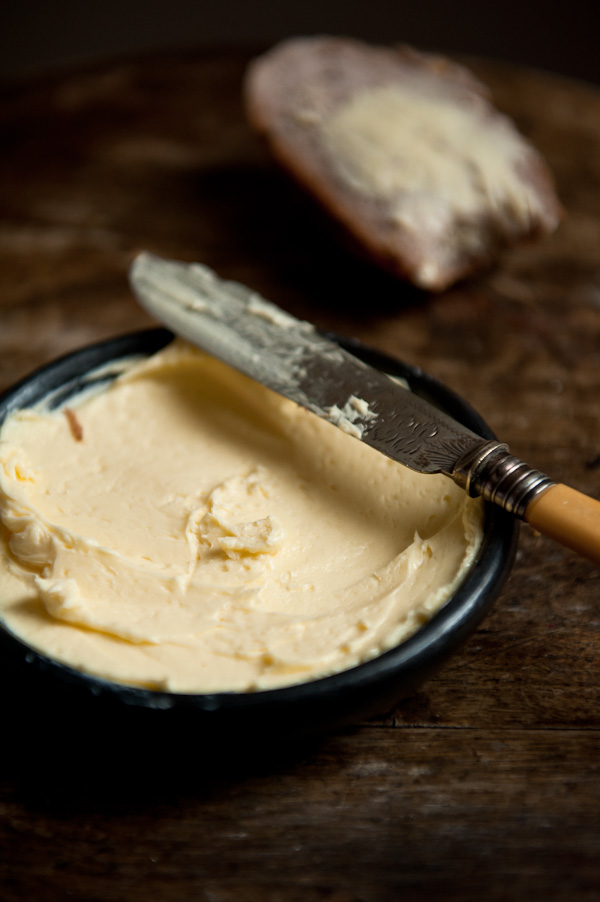
I knew it was perfect the very moment I cut through the beautiful dark brown crust. First, the crackling sound of cutting into fresh bread that I absolutely love, then the aroma - there's nothing like the smell of freshly baked bread. The texture was just right, dense but soft with nice airy holes. All I needed was homemade butter! Bread and butter. The best combo ever.
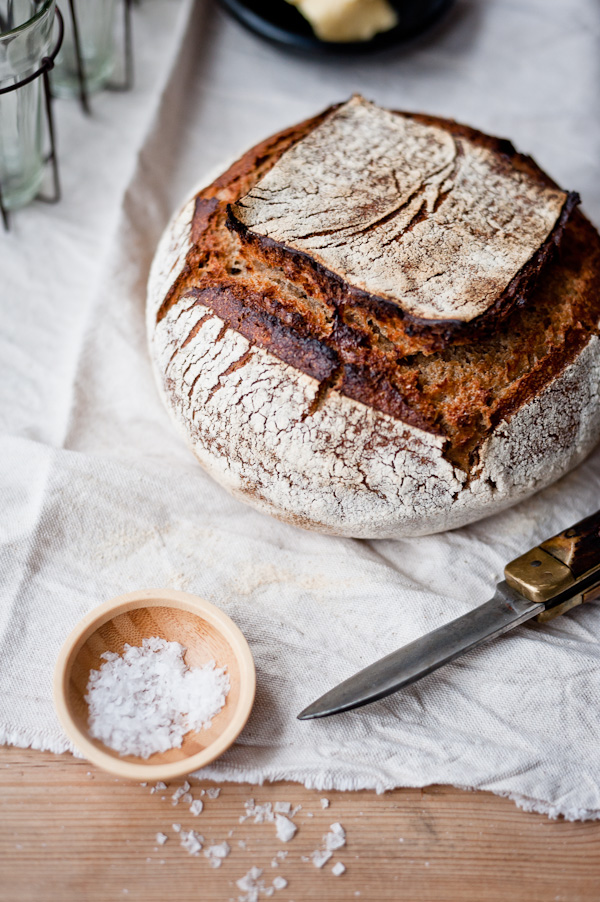
Sourdough bread and salt

I tried two different recipes and techniques before I found the perfect one that worked for me. I knew I wanted to bake dark bread. I love Scandinavian dark breads. Every time we travel to Finland I bring back a suitcase full of Finnish rye bread and freeze it.

Sourdough starter is obviously one essential ingredient of great bread. I grew my own rye sourdough starter (after a few failures). There's been so much written about growing your own starters already, so I'm not going to repeat what others already said. Instead, I can point you to some good sources like this one or this one. It's also useful to know how to maintain your starter once you get to that point. You will find very useful info here or here.

My bread was inspired by sourdough bread recipe on Wild Yeast blog. If there is anything you want to know about bread baking, you will find it there! I also plan to buy the Tartine Bread book. Not only it was photographed by one of my favourite photographers Eric Wolfinger but it also contains detailed step-by-step instructions and images illustrating the key steps of various techniques.
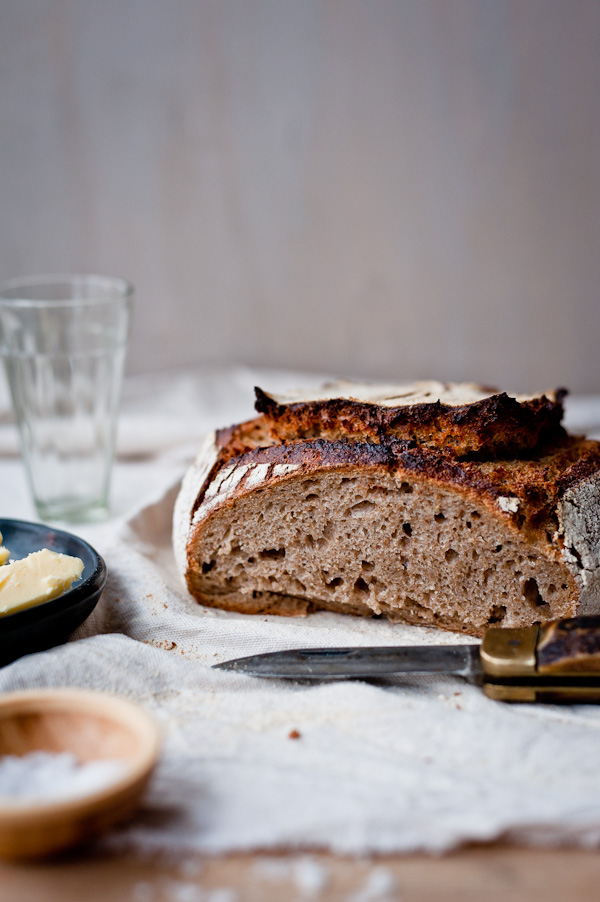
Rye sourdough bread
Sourdough bread with butter

Sourdough Bread
Yield 1 loaf (1kg)

387g strong bread flour
90g rye flour
280g water
240g rye sourdough starter
12g salt

In a bowl, combine the starter and water. Add the flours and stir with a wooden spoon until all the ingredients come together. Cover and let the dough rest in the bowl for 30 minutes.

Add the salt and incorporate with your hands. Continue to knead the dough in the bowl for about 5 minutes. If the dough is too sticky, lightly dampen your hand with a little water. Cover and let it ferment at room temperature for 1 hour and 15 minutes.

Fold the dough in the bowl. To fold the dough, gently lift one side of the dough, stretch it upward and fold a third toward the centre. Repeat the step with the opposite side of the dough. Turn the dough 90 degrees and repeat with other two sides (this video demonstrates how to fold a dough). This method helps to develop the gluten.

Cover and let the dough rest at room temperature for another 1 hour and 15 minutes.

Transfer the dough to a lightly floured surface and shape into a ball. Cover with a clean tea towel and let it rest for 20 minutes.

Place the formed loaf upside down into a floured banneton (rising basket) or a towel lined bowl heavily dusted with flour. Let the loaf proof at room temperature for 2-3 hours. You can also let it proof for 1 hour at room temperature and them place it in the fridge overnight and bake straight from the fridge.

Preheat the oven to 250℃ for at least 30 minutes to one hour before you are ready to bake. Place your Dutch oven or an oven proof dish with a lid in the oven. The dish must be very hot.

Take the dish out of the oven and sprinkle some flour on the bottom. Remove the bread from the bowl and put it in the baking dish. Slash the top of your bread, place the lid back on top. Bake for 25-30 minutes.
Turn the heat down to 230℃. Remove the lid and bake for another 20-30 minutes, until dark brown.

Let the bread cool for at least 30 minutes before slicing.


Homemade Butter

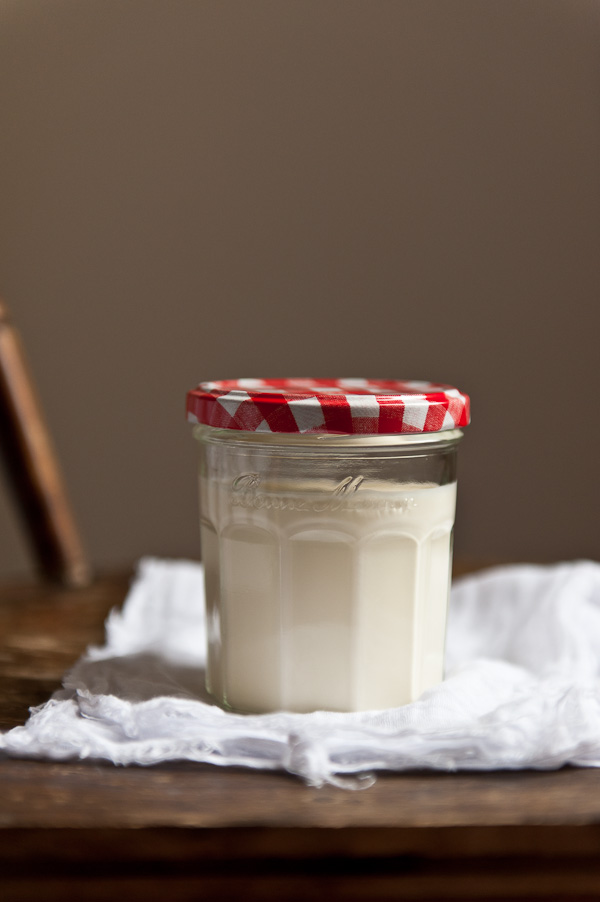
Homemade butter

I think it's time to finally say hi and break my radio silence. Also, I would like to wish you all a very late happy New Year. I hope your new year has started out fantastic!

I can't believe January is almost over!

I've been struggling with lack of inspiration and motivation, and that's the reason why I haven't been updating my blog lately. I have to say, though, that I've been missing you and my little blog.
Luckily, my very dear friend Giulia came to London on a working holiday. I always enjoy the time we spend together working on new ideas, brainstorming, cooking and laughing. Isn't that exactly all you need when you are looking for inspiration everywhere, but can't seem to find any?
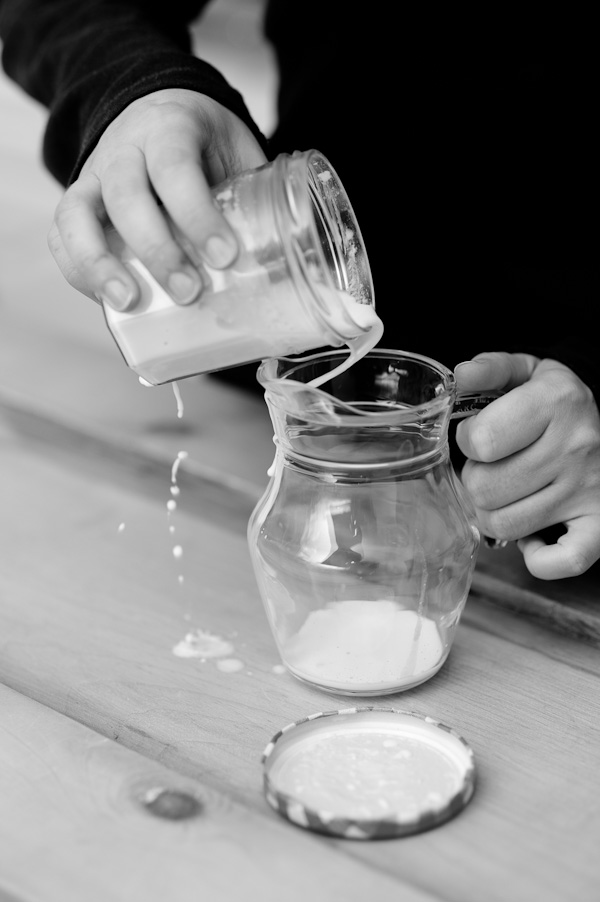
double cream for homemade butter


New motivation didn't come easy to me though. I must admit that Juls and P. basically blackmailed me into working on a new projects and posts. I want to thank them for that!

Back to basics! 

Complicated projects are not ideal for times when you get stuck. Just get back to basics. Start adding more, little by little. I'm not an expert on "getting stuck situations", but this worked for me. 

I decided to get back to basics. I've been planning on making homemade butter for sooooo long.
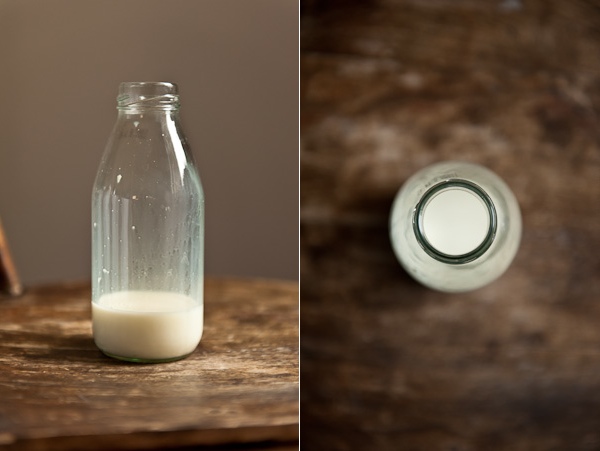

Butter_Phases
Butter Last Phase
Straining buttermilk from butter


What ingredients do you always have in your fridge? I usually have eggs, cheese, fresh vegetables and butter in my fridge. As Julia Child said, "Butter makes everything taste better". 

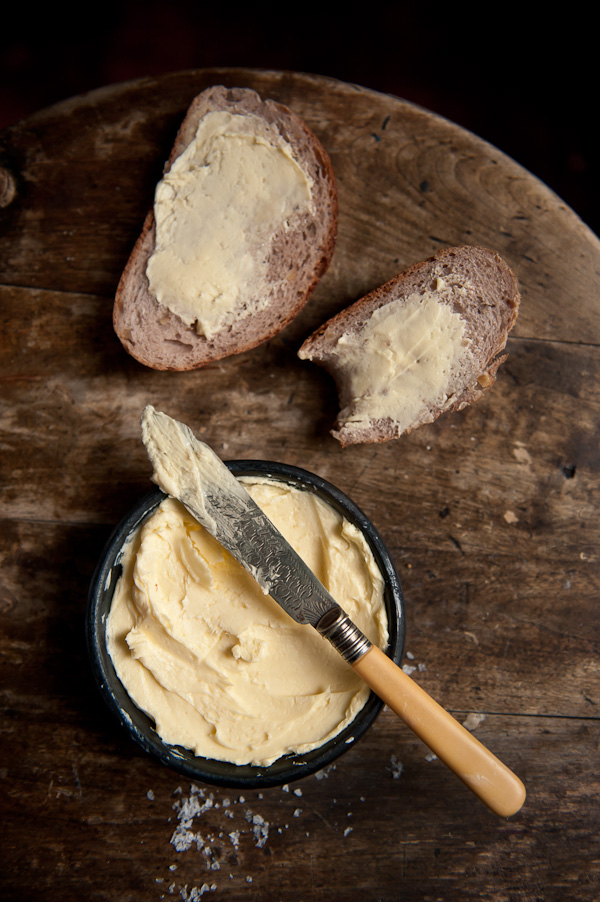
Homemade butter is, however, completely different experience. It's so creamy and silky with a hint of Maldon sea salt. Add freshly baked bread and I'm sold! If that's not enough for you, head over to Juls' blog to add just one more ingredient to create an easy sandwich bursting with flavours. 


Buttermilk
Homemade butter with bread

You can very easily prepare butter using your food processor or blender.  Using a shaking technique is much more fun and it's a perfect arms workout. I felt like I spent an hour in the gym the next day after making the butter. Somebody could say it's a bit too much of a hassle for butter,  but believe me, it is well worth it.

Homemade butter


Butter
yields about 90g butter

250ml double cream
Maldon sea salt to taste

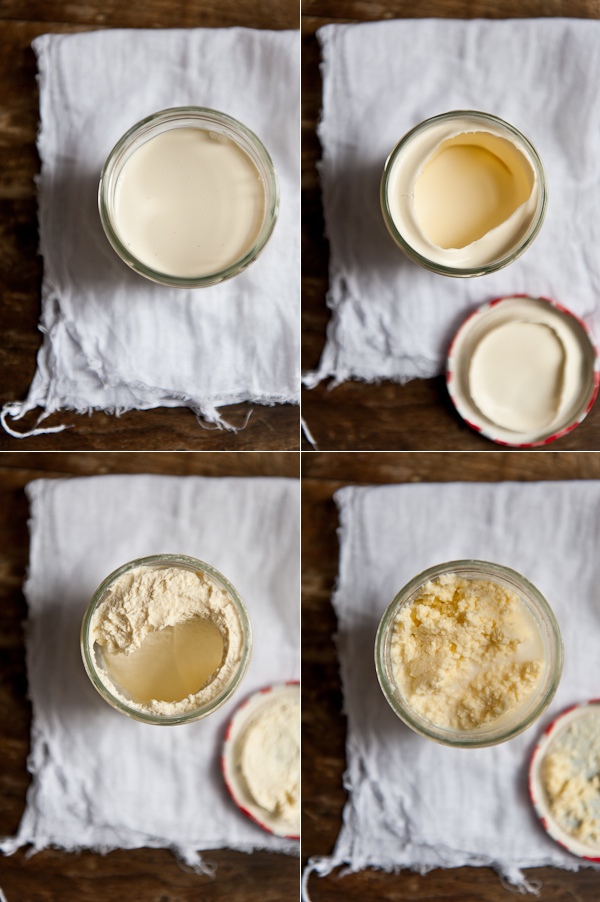
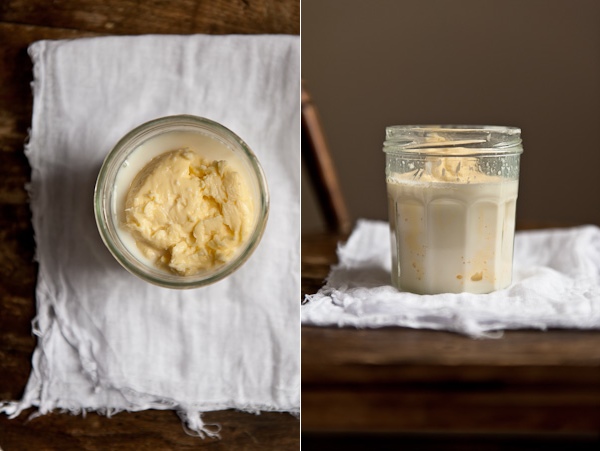
Pour the double cream into a jar. The jar should be at least one third larger than the amount of double cream. Put a lid on, and start shaking the jar. After 2-3 minutes, the cream should be quite thick and nicely whipped. Continue shaking, until the cream starts to pull away from the sides of the glass. At this point it's quite hard to shake the jar, so it's easier and more effective to tap the jar firmly on a table covered with a thick layer of tea towels. Be careful not to brake the jar. Continue to tap the jar, turning it upside down and back as you go, until the buttermilk starts separating from the butter.  Pour the buttermilk into another container (you can use the buttermilk later) and shake the jar a few more times to separate as much of buttermilk as possible.
Pour cold water into the jar to wash the butter. Pour off the water. Use a spoon or spatula to squeeze out as much buttermilk out of the butter as possible. Wash again until the water is clear. When the butter is clean, mix in salt to taste and refrigerate.
You can also add herbs or garlic if you like.


Naked Beet Green Quiche

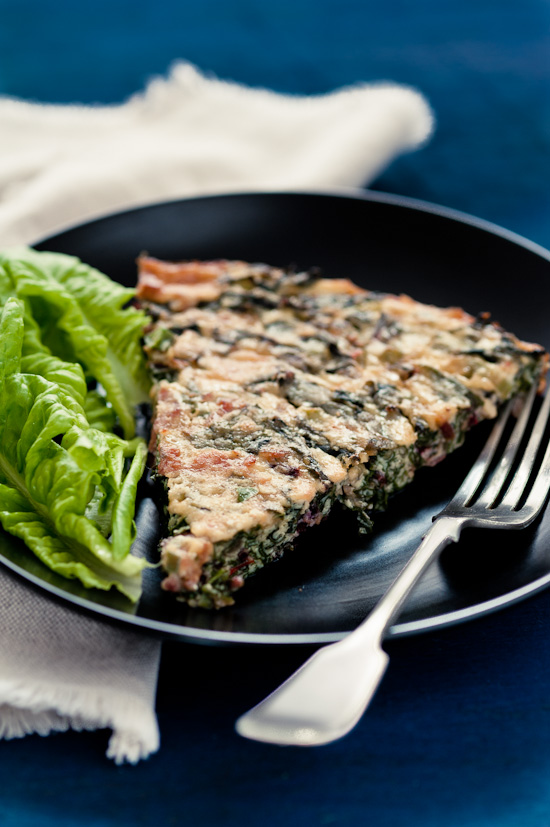
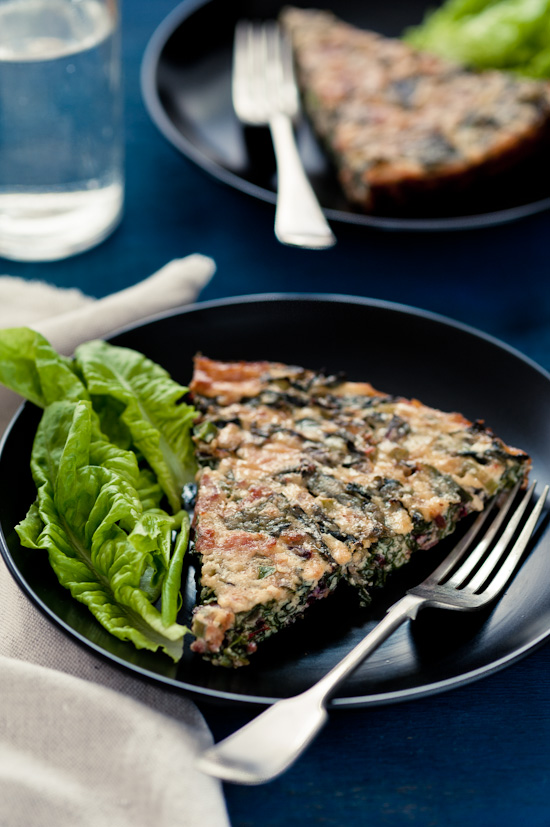
Naked beet greens quiche

It's almost unbelievable, but summer has finally arrived in the UK! I can't describe how happy and thankful I am. After a couple of weeks of constant rain even P. had started to feel depressed. Our kitchen garden and lawn have been watered deeply and heavily, however I could see they were longing for the sunshine same we were.
When I saw the weather forecast for the past weekend, I knew instantly we wouldn't be staying at home for a moment longer than necessary. On Saturday we decided to take a photo walk to test my new zoom lens. So far I've been exclusively using prime lenses for food shots, however I started to feel the need for a zoom lens for taking pictures outside. I haven't yet fully explored the possibilities of the new lens, but I can already say I like it.

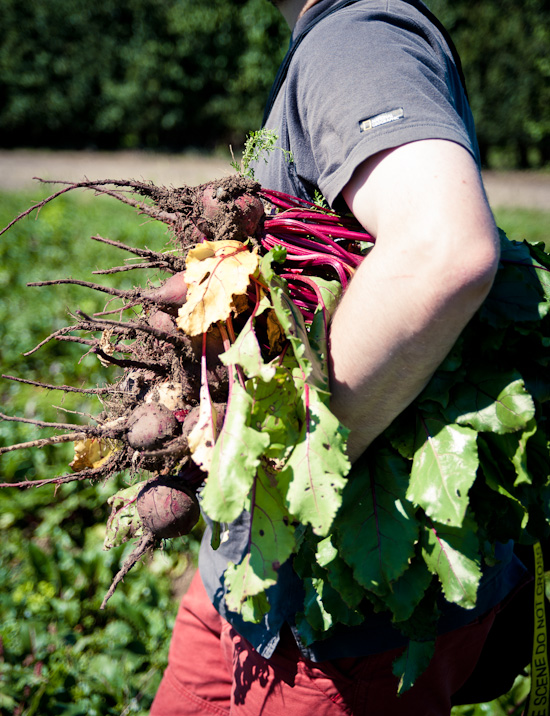
Picking beets
Naked beet greens quiche

On Sunday, we went to a pick your own farm to get some fruits and vegetables which we don't grown in our mini kitchen garden. We picked lots of beets, some spring onions, baby courgettes, baby broccoli and gooseberries. I'm actually eating the gooseberries as I sit here and write this post. They are so sweet and delicious, and bring back so many memories of my childhood.

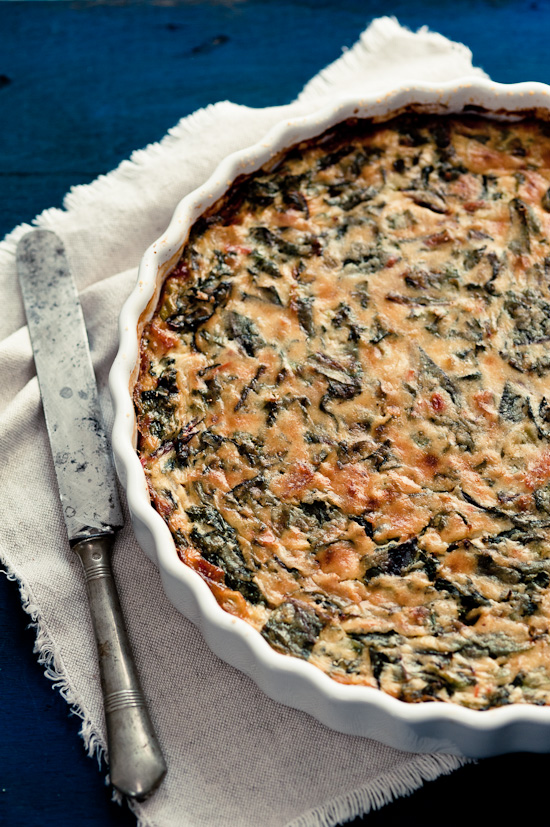
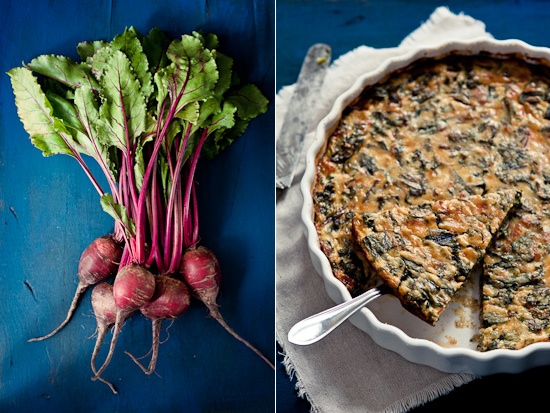
There was a reason for the huge amount of beets we picked. I'm planning to make beet chutney. I love beets in any form, but I've never tried to make beet chutney yet. If I like it, I will definitely share the recipe here. I also started using beet greens recently. I used to just discard them without realising how delicious they are! To be honest, I didn't know they are edible! Beet greens are very similar to chard leaves or fresh spinach leaves, and can be substituted for each other in many recipes. P. goes crazy for beet greens sauteed with garlic and chilli, seasoned with salt and freshly ground pepper. He doesn't really care too much for spinach though. Beet greens are particularly flavourful and rich in vitamins and minerals. They are wonderful in salads and soups, but they also make a great base for savoury tarts. We love savoury tarts in this house. However, I decided to make a crustless version to save time as we were too hungry. But you can use the recipe together with your favourite tart crust.

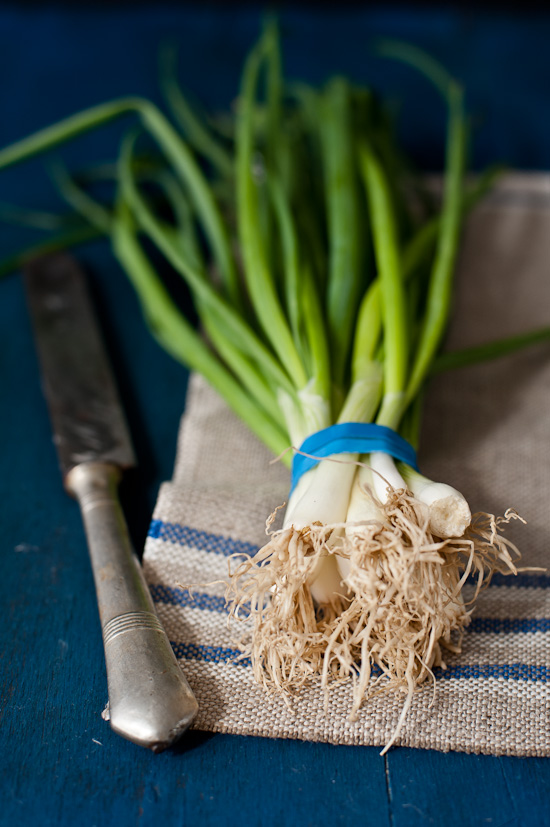
Spring onions
chilli pepper
Beet green quiche
DSC_7626

Before I leave you with the recipe, there's someone who wants to say hi! :) Have a wonderful week.

Face to face


Naked (crustless) beet green quiche

2tbsp mild olive oil
4 shallots, finely chopped
4 garlic cloves, finely chopped
1 red chili pepper, seeded and finely chopped
500g beet greens, stems removed, coarsely chopped
3 slices smoked bacon, cut into small pieces
6 spring onions, finely sliced
4 eggs
150ml sour cream
150ml milk
65g cheddar, grated
pinch of grated nutmeg
salt and freshly ground pepper
grated parmesan

Lightly butter a tart pan and preheat oven to 175°C.

Heat oil in a frying pan, add the shallots and sauté until soft, but not brown, about 5 minutes. Add garlic and chili pepper and cook for another minute. Stir in beet greens and cook until they are wilted and soft, for about 8 minutes. Season with salt and pepper. Remove from heat, transfer to a bowl and let cool slightly. Squeeze out any excess liquid. In the same pan, fry the bacon over medium heat until slightly crispy. Add the bacon and spring onions to beet greens and toss well.

In a medium bowl, whisk together the eggs, sour cream, milk, cheddar and nut meg. Add the beet green mixture and stir to blend. Transfer to prepared pan. Sprinkle with grated parmesan and bake until eggs are set, for about 30-40 minutes.

Roasted Vegetable Galette


DSC_0475

I just wanted to say hello and share another recipe from my root vegetable theme, that I developed for a G2Kitchen magazine, before I leave for Prague again. It's pure leisure time this time and I should be able to enjoy Prague as a tourist. No 14 hours photoshoot every day! I can't wait for that! The main reason for my trip to Prague though is to celebrate my beloved grandmother's 80th birthday. I look forward to seeing my whole family and spending some precious time with them.

DSC_1944

I think spring is finally coming to London as I saw first blooming flowers and enjoyed some nice warm sunshine while walking just in my t-shirt in Windsor last weekend. I hope we get more such warm days when I get back. This savoury galette is a wonderful lunch or snack for those who still wait for warm days. It's full of flavours and vitamins that we so much need after long cold winter.

DSC_0352

DSC_2322

DSC_0489


Roasted Vegetable Galette
Serves 4-6

Crust:
250g wholemeal flour
¼ tsp salt
115 g chilled unsalted butter, diced
¼ cup crème fraiche
2 tsp lemon juice
¼ cup cold water
1 spring of fresh thyme, leaves chopped

Vegetable filling:
5 small carrots (or 3 medium), peeled and diced
2 parsnips, peeled and diced
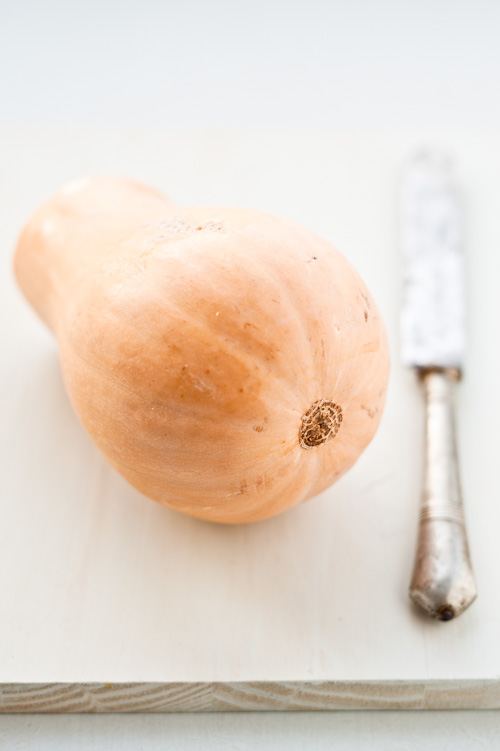
350g butternut squash, peeled and diced
2 medium red onion, peeled and quartered
1 sprig fresh rosemary, leaves chopped
1 sprig fresh thyme, leaves chopped
3 tbsp olive oil
1 head of garlic, outer layers peeled
salt and freshly ground pepper
creamy goat cheese, crumbled

To make the crust, combine the flour and salt in a medium bowl. Add the butter and using your hands rub the butter into the flour until the mixture resembles coarse meal. In a small bowl, whisk together the crème fraiche, lemon juice and cold water. Add the mixture to the flour mixture and blend everything together with a fork. Stir in chopped thyme. Do not knead the dough. Gather the clumps into a ball. Wrap the dough tightly in plastic wrap and flatten a bit. Refrigerate for at least an hour.

Preheat oven to 180℃. Put all the vegetables into a roasting tray. Sprinkle with herbs and drizzle over 2 tablespoons olive oil. Season with salt and pepper and toss everything together until all the vegetables are evenly coated. Cut off the top of the garlic head, exposing the cloves. Drizzle some olive oil on top and wrap in foil. Place the garlic on the roasting tray with the vegetables. Roast the vegetables about 20-30 minutes stirring once or twice until tender. Squeeze the garlic into a large bowl and mash with a fork. Add the roasted vegetables, half of the cheese and toss gently.

Increase oven temperature to 200℃. Unwrap the dough and press the edges so that there are no cracks. Dust a sheet of parchment paper with flour and roll out the dough into a 30cm circle about 0.5cm thick. Transfer the dough on the parchment paper to a baking sheet. Arrange the vegetables on the dough, leaving a 5cm border. Scatter over the remaining goat cheese and fold the edges over the filling. Bake on the lower half of the oven for about 35-40 minutes until the crust is golden brown. Let it cool for 10 minutes, then cut into wedges and serve.