Showing posts with label Cheese. Show all posts

Naked Beet Green Quiche

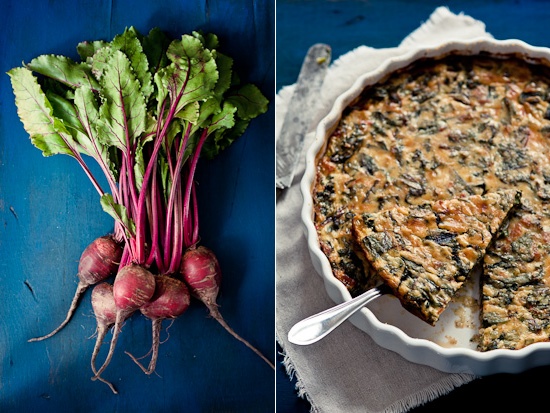
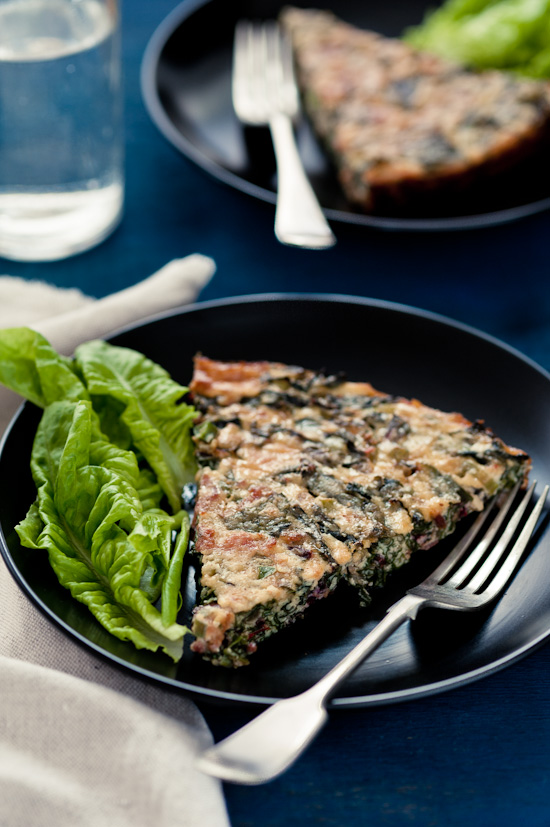
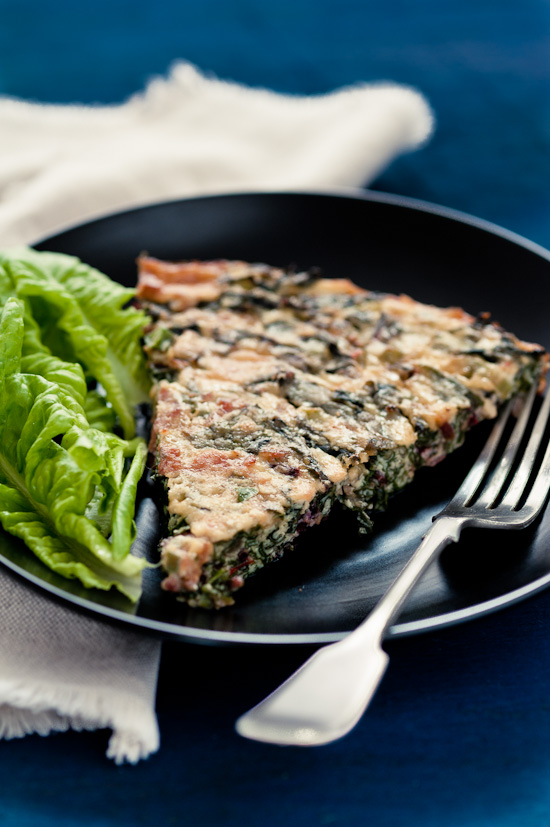
Naked beet greens quiche

It's almost unbelievable, but summer has finally arrived in the UK! I can't describe how happy and thankful I am. After a couple of weeks of constant rain even P. had started to feel depressed. Our kitchen garden and lawn have been watered deeply and heavily, however I could see they were longing for the sunshine same we were.
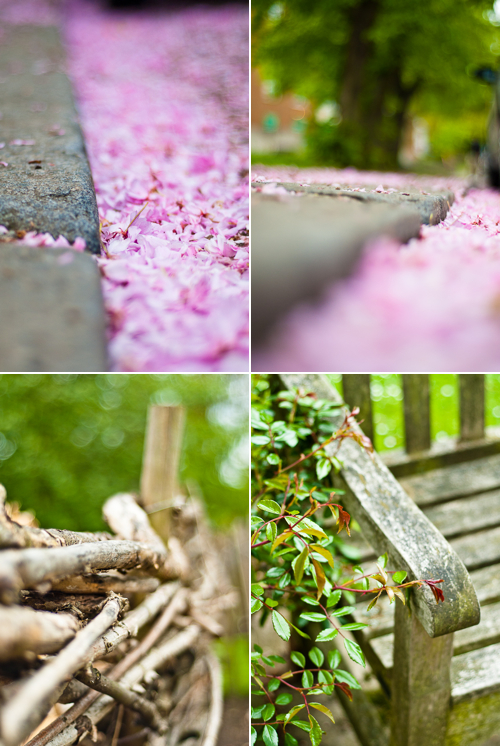
When I saw the weather forecast for the past weekend, I knew instantly we wouldn't be staying at home for a moment longer than necessary. On Saturday we decided to take a photo walk to test my new zoom lens. So far I've been exclusively using prime lenses for food shots, however I started to feel the need for a zoom lens for taking pictures outside. I haven't yet fully explored the possibilities of the new lens, but I can already say I like it.
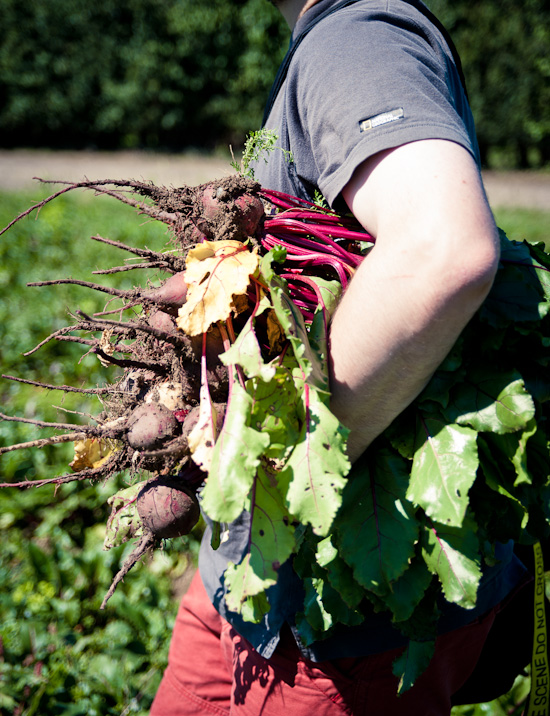
Picking beets
Naked beet greens quiche

On Sunday, we went to a pick your own farm to get some fruits and vegetables which we don't grown in our mini kitchen garden. We picked lots of beets, some spring onions, baby courgettes, baby broccoli and gooseberries. I'm actually eating the gooseberries as I sit here and write this post. They are so sweet and delicious, and bring back so many memories of my childhood.

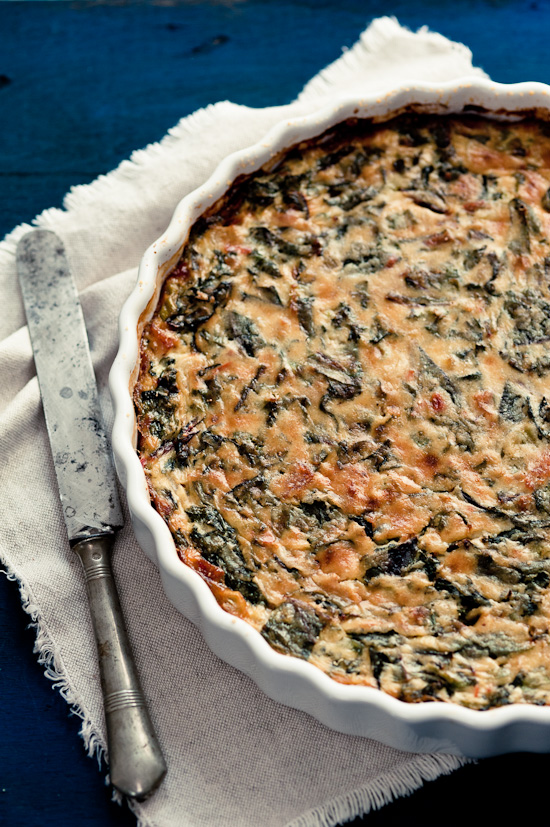
There was a reason for the huge amount of beets we picked. I'm planning to make beet chutney. I love beets in any form, but I've never tried to make beet chutney yet. If I like it, I will definitely share the recipe here. I also started using beet greens recently. I used to just discard them without realising how delicious they are! To be honest, I didn't know they are edible! Beet greens are very similar to chard leaves or fresh spinach leaves, and can be substituted for each other in many recipes. P. goes crazy for beet greens sauteed with garlic and chilli, seasoned with salt and freshly ground pepper. He doesn't really care too much for spinach though. Beet greens are particularly flavourful and rich in vitamins and minerals. They are wonderful in salads and soups, but they also make a great base for savoury tarts. We love savoury tarts in this house. However, I decided to make a crustless version to save time as we were too hungry. But you can use the recipe together with your favourite tart crust.
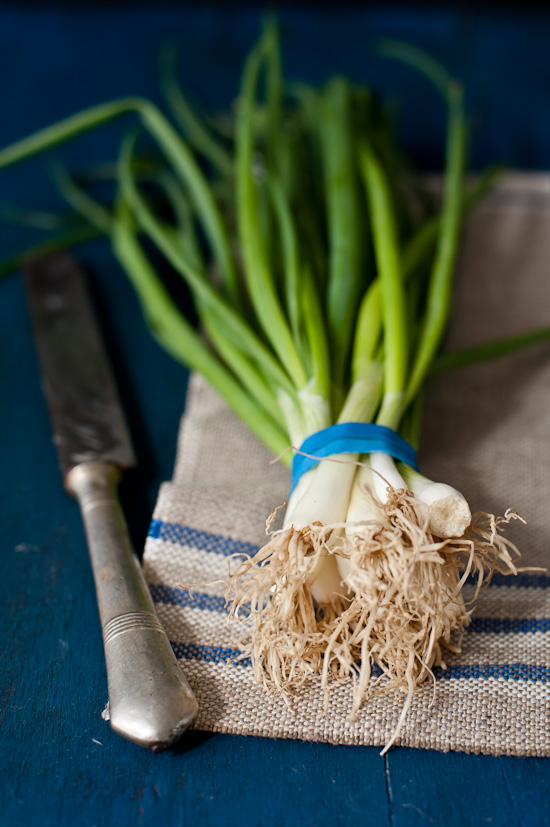

Spring onions
chilli pepper
Beet green quiche
DSC_7626

Before I leave you with the recipe, there's someone who wants to say hi! :) Have a wonderful week.
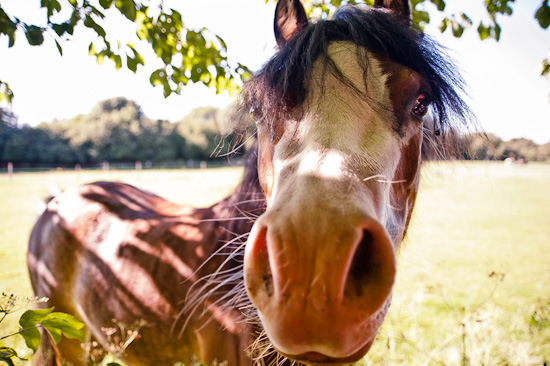
Face to face


Naked (crustless) beet green quiche

2tbsp mild olive oil
4 shallots, finely chopped
4 garlic cloves, finely chopped
1 red chili pepper, seeded and finely chopped
500g beet greens, stems removed, coarsely chopped
3 slices smoked bacon, cut into small pieces
6 spring onions, finely sliced
4 eggs
150ml sour cream
150ml milk
65g cheddar, grated
pinch of grated nutmeg
salt and freshly ground pepper
grated parmesan

Lightly butter a tart pan and preheat oven to 175°C.

Heat oil in a frying pan, add the shallots and sauté until soft, but not brown, about 5 minutes. Add garlic and chili pepper and cook for another minute. Stir in beet greens and cook until they are wilted and soft, for about 8 minutes. Season with salt and pepper. Remove from heat, transfer to a bowl and let cool slightly. Squeeze out any excess liquid. In the same pan, fry the bacon over medium heat until slightly crispy. Add the bacon and spring onions to beet greens and toss well.

In a medium bowl, whisk together the eggs, sour cream, milk, cheddar and nut meg. Add the beet green mixture and stir to blend. Transfer to prepared pan. Sprinkle with grated parmesan and bake until eggs are set, for about 30-40 minutes.


Roasted Cherry Tomatoes and Goat Cheese Spaghetti


Tomato Spaghetti

I'm quite positive that proper spring is here. Outdoor temperatures stay around pleasant 18 degrees and sunshine do it's work on my garden. I will update you on garden news soon as the little patch of green that makes me so happy has grown rapidly during the last two weeks. I still have to wait to harvest my own tomatoes, however I have sufficient supply of fresh herbs and baby lettuce and spinach leaves that we treat ourselves to regularly. Warm and sunny weather also means that I tend to cook and eat lighter food with enough fresh fruit and vegetables. Pasta is, however, something constant on our menu throughout the year. I've already told you many times I'm a pasta maniac, haven't I?

Roasted cherry tomatoes

This pasta dish is very quick and easy to make. It's exactly the type of food I like to cook especially during hot months, when you don't want to spent long hours near a hot stove. You can easily use any leftover pasta which you just heat up and toss with the rest of ingredients. The combo of roasted cherry tomatoes and goat cheese is fantastic on it's own. I can imagine making roasted tomato and goat cheese bruschetta, or adding both in a salad. Options are endless here, you can never go wrong with tomatoes and cheese.

It's time to think about Saturday lunch. Have a wonderful weekend!

Roasted tomatoes spaghetti
Roasted Tomatoes Spaghetti

Roasted cherry tomatoes and goat cheese spaghetti
Serves 2

13-14 cherry tomatoes
190g spaghetti
4tbsp olive oil
1 garlic clove, crushed
1 tbsp pine nuts
salt and freshly ground black pepper
125g soft goat cheese, crumbled
2 tbsp grated parmesan
handful fresh basil leaves


Preheat oven to 180°C. Place the tomatoes rubbed in olive oil on a baking tray, sprinkle with salt and pepper and bake for 20 minutes.
Meanwhile, cook spaghetti according to package directions. When the pasta is ready, drain and return to the pan. In a small bowl, mix the olive oil, garlic, pine nuts, salt and pepper. Add to the pasta with half of the goat cheese and parmesan and toss to combine. Divide pasta between two plates and place cherry tomatoes on top. Sprinkle the rest of goat cheese and basil on top, and serve.


Broiled Camembert

Broiled camembert

Imagine hot, soft, creamy, smelly, sticky, gooey, cheesy... Yes, I'm talking about broiled Camembert! That's pure indulgence, I can tell you. I tasted this cheesy yumminess a few weeks ago in our local pub, and I have already made it at home a couple of times since.

DSC_3254

This basically doesn't need any recipe because it's so easy and quick to prepare. And even better, there are no dishes to do! You just need one Camembert in a wooden box, some fresh thyme, one garlic clove, olive oil and bread or baguettes for dipping. So easy and it's ready in 20 minutes! If you are having friends over, try serving the cheese as an appetizer. It's great for sharing and it goes well with beer!

DSC_3256


Broiled Camembert
Serves 2

1 Camembert cheese in a wooden box
1 tbsp olive oil
1 garlic clove, mashed
2 sprigs fresh thyme


Turn the broiler on (200℃ or medium heat) and keep the oven door open a crack. Unwrap the cheese, discard the wrapping paper but keep the wooden box. In a small bowl, mix the olive oil and garlic. Brush the oil all over the cheese and put the cheese back in the wooden box. Pierce the top of the cheese with the thyme sprigs. Place on the middle rack of the oven for 20 minutes.
Serve with toasted bread or baguettes for dipping.


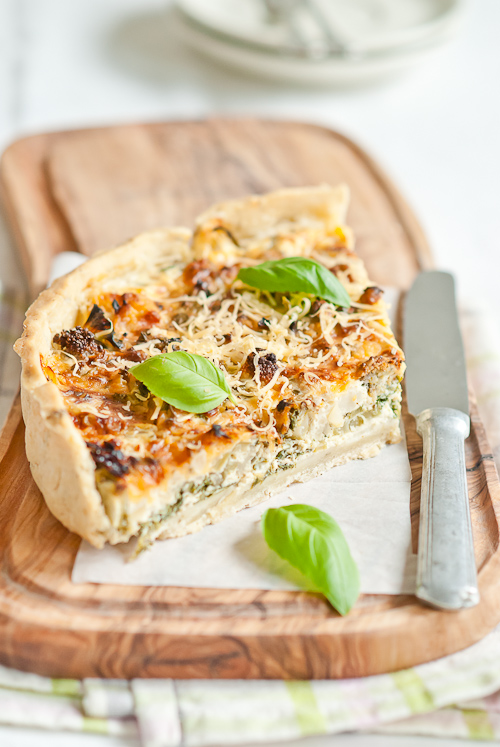
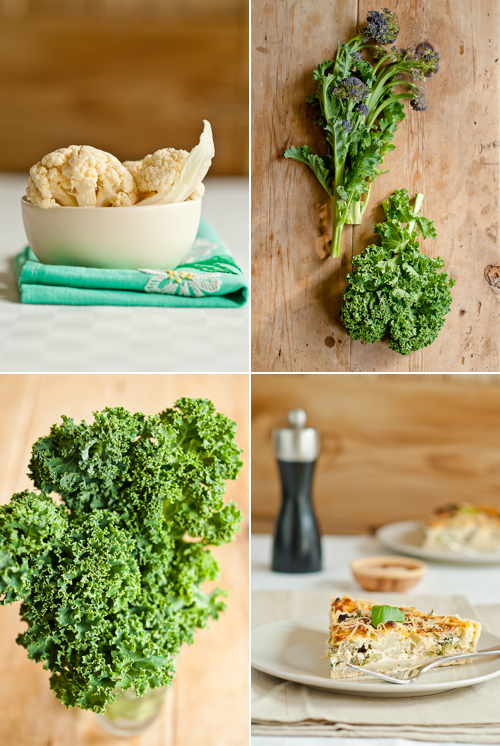
Sprouting Broccoli, Kale and Cauliflower tart


I should apologise to you my readers. I know you must be tired of reading about weather. I don't want to mention London weather in every post, but local weather is truly crazy! Do you remember the beautiful blue sky in one of the pictures from a last week's post? I think it was the hottest day of this year. Unfortunately, that is no longer true. This week, we were thinking about turning the heating on again!

I will keep this post short because my hands and fingers are numb (we didn't turn the heating on) and I have probably pinched a nerve in my back which makes sitting at the computer quite painful.


I really enjoyed a Sunday photo walk in spite of the horrible weather. P. has bought an old fashioned film camera and we set out to give it a first try. I'm quite curious how the photos will turn out. Cold and dreary weather was, however quite pleasing in the end, because it produced lovely soft lighting, offering good photography conditions. I went with my digital camera so I can share some pictures with you instead of long writing.


But let's get back to the tart. I really like savoury tarts. Not only they are quite easy to make, but I also love their endless versatility. I usually use ready-made puff pastry (like in this recipe), because it makes the process even easier. However, I wanted to push myself a bit further this time.
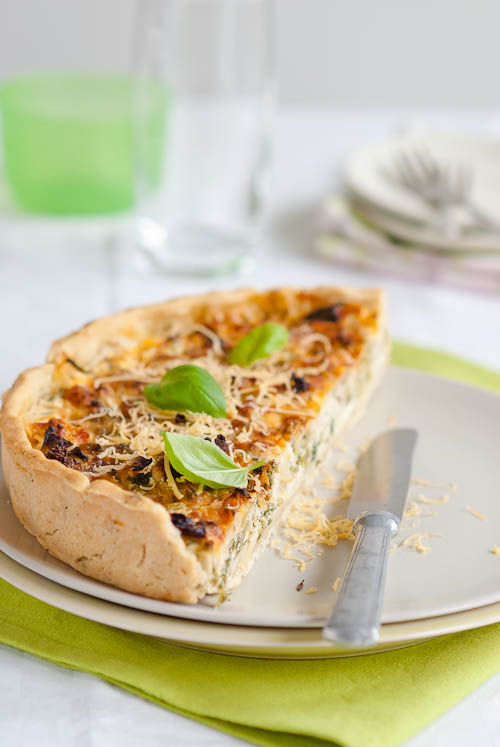
Then I found Aran's recipe for a savoury tart, and decision was made. The addition of thyme and rosemary in the pastry sounded very promising. I slightly altered the recipe and ended up with a gluten-free version because I ran out of plain flour and was too lazy to bother getting dressed and go shopping. And only flour I had at home was gluten and wheat free plain white flour blend. I already mentioned this flour in my gluten-free cookies post.

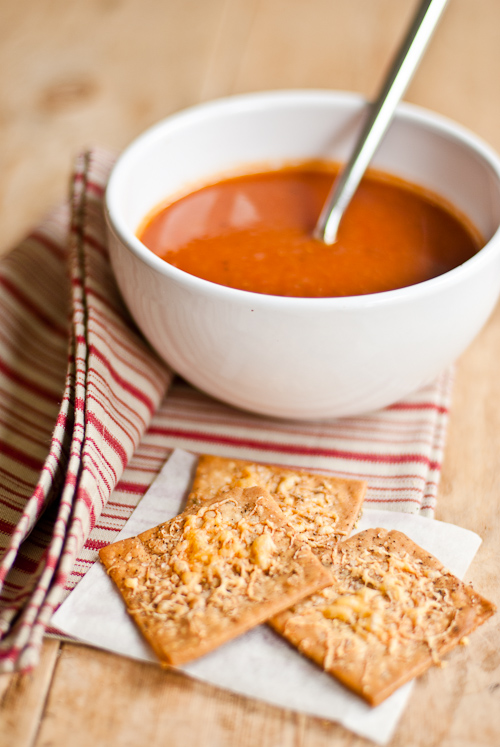
You will have some leftover dough scraps from the tart. Use them to make crackers. They go wonderfully with a soup. I left the dough in the fridge for two days and the cracker turned out perfectly. I made two batches and I left the second batch too long in the oven, so they were a bit darker. They tasted great with a homemade roasted tomato soup, though.


Sprouting broccoli, kale and cauliflower tart

400g gluten and wheat free plain white flour blend
1 1/2 tsp salt
2 tsp fresh thyme
1 tsp dried rosemary
1/2 tsp freshly ground black pepper
200g butter, cut into cubes and chilled
8tbsp cold water

2 tbsp olive oil
1 large yellow onion, halved and sliced
1/2 head of cauliflower, broken into small pieces
5 stems purple sprouting broccoli, stems removed and chopped
2 cups chopped kale
1tsp freshly ground black pepper
1tsp salt
1/2 cup double cream
1 cup milk
3 eggs
200g cheddar cheese, grated


1. In a large bowl combine flour, salt, thyme, rosemary and black pepper. Using a fork mash the butter into the flour until crumbly.

2. Stir in the cold water and bring the pastry together into a ball. Shape the dough into a flat square, wrap it in plastic wrap and place in refrigerator for 2 hours.

3. Turn out the dough onto a piece of plastic wrap and roll to about 0.4cm thick. Lift still on the wrap and place in a tart pan. Press sides gently in and remove any dough that hangs over the edge of the tart pan. With the plastic wrap still on chill it for another 1 hour.

4. Use the scraps to make crackers. Press all of the dough scraps together gently, do not overwork them with kneading. If you want to make crackers right away, roll the dough to 0.5-0.7cm thick and cut squares. Place them on a lined baking sheet and refrigerate for 30 minutes. Before baking sprinkle the crackers with freshly grated black pepper, coarse grained salt or some cheese. Bake for 12-15 minutes at 180C.

5. In a pan heat the olive oil and saute the onion for 5 minutes. Add the kale, broccoli and cauliflower and saute for another 5 minutes. Let it cool a bit. In the meantime, whisk the eggs, milk, double cream, thyme, salt and pepper in a bowl.

6. Take the tart pan out of the fridge and spread the vegetable over the crust. Sprinkle with the grated cheese and pour the egg mixture on top.

7. Bake at 200C for 15 minutes. Reduce oven temperature to 180C and bake for another 20-25 minutes or until the top is golden.


Italian Malfatti with Tomato Sauce


Any recipe containing spinach always gets my attention. I love spinach! And of course, I prefer using fresh leaf spinach when available. There are only few recipes, mostly Czech recipes, where frozen chopped spinach works well. So when I saw Italian malfatti in a Czech food magazine, and found out that the green pieces were spinach leaves, I knew instantly I had to try to make them.


I have never eaten malfatti nor heard of them before. I learned that best malfatti are home prepared and their name, translated from Italian, means "bad made". Such name doesn't do them justice, does it? But don't be fooled by their name. They are sometimes referred to as "naked ravioli". That sounds much better, kinda sexy, I would say.

Malfatti is a traditional Tuscan dish and it's basically ravioli filling without dough. They mostly contain ricotta and only a small amount of flour which make them very light and airy, especially when you compare them to traditional gnocchi. On top of that, they are very easy to make! And they contain plenty of greens! I think someone should officially change their name! What's bad about them?


I served malfatti with spicy tomato sauce, but you can also just drizzle it with melted butter and scatter some extra parmesan on top. Doesn't it look like a perfect spring dish?

And look, spring has finally arrived to London too! I mean real spring with sunny days, blooming trees and baby ducks! :)


Note: I didn't put the exact quantity of flour/semolina, you need to add enough to make soft dough, still a little sticky. I started with 50g and added more gradually until I got the consistency I wanted.


Italian malfatti with spicy tomato sauce
Serves 4

1 tbsp butter
1 shallot, finely chopped
100g fresh spinach leaves, washed, hard stems removed
salt and freshly ground pepper
pinch of grated nutmeg
250g ricotta cheese
50g grated parmesan
1 egg
1 egg yolk
50-100g semolina (plain flour works too)

For the sauce
2 tbsp olive oil
2 garlic cloves, chopped
salt
1/2 of dried chilli pepper
400g canned tomatoes

1 tbsp fresh basil leaves
extra parmesan, to serve

1. Melt the butter in a frying pan and saute shallot for about 4 minutes. Add spinach leaves, season with salt, pepper and nutmeg and cook for 3-5 minutes until wilted.

2. Drain in a sieve placed over a medium bowl, pressing to squeeze out excess liquid. Save the squeezed liquid. Chop the spinach.

3. In a large mixing bowl, combine drained ricotta, parmesan, egg, egg yolk, chopped spinach and spinach liquid. Season with salt if needed. Start adding flour/semolina, mixing well between each addition, to get a soft mixture but not very sticky. If you make too thick mixture, the malfatti will get heavy and chewy.

4. Sprinkle some flour on a plate. Form the mixture into a small egg-shaped pieces using two spoons dipped into hot water. Place them carefully on a plate, sprinkle some more flour over and refrigerate for 1-2 hours.

5. Prepare the tomato sauce. Heat olive oil in a pan, add garlic and chilli and fry for a minute. Stir in the chopped tomatoes, season with salt a pepper and cook, stirring occasionally for 15-20 minutes.

6. Bring a large pot of salted water to a boil. Cook the maflatti in batches so that they have enough space and water to cook. When they come out at the surface continue to cook for another 1-2 minutes. Remove them with a slotted spoon, drain and keep warm until all the malfatti are done.

7. Divide the malfatti between plates, pour tomato sauce over and sprinkle with parmesan and basil leaves.

My Lasagne Bolognese


I know I should already post a Christmassy recipe and pictures when Christmas is here in only 7 days. How many? 7 days? Ok, now I am panicking! It is just one week! Whee... And no snow in London! Just imagine it. Everybody on twitter writes about white fields and gardens and posts pictures of snow. And here? Nothing! Well, to be completely honest, I saw several snow flakes yesterday, but they had all melted sooner than I took out my camera! Just have a look, this is it, the London snow :)


However I am still positive about the snow in London. This is how it looked here last year in February.

I loved it and I really enjoyed it! But not everybody did. Because there were no buses, trains and tube going for almost two days! The whole city turned into a sleeping kingdom.

But let's get back to my today's post. The lasagne bolognese.

I cooked the lasagne during my "off-line period", that is to say one week without the Internet at home! Do not worry, I survived, though it was not easy! :) This was about two weeks ago. Time goes so fast! I found the photos of the lasagne yesterday, and I thought it would deserve to write a post about it because it was sooooo delicious. I ate similar lasagne when P. and I visited our friends in Finland this year. I loved it. Just two weeks later I emailed our friend, asking her for a recipe. My recipe is a combination of a classical lasagne bolognese and our friends' recipe.


My lasagne Bolognese
Serves 6

Ingredients
2 tbsp olive oil
1 onion, finely chopped
1 carrot, grated
2 garlic cloves, crushed
1 tsp dried oregano
2 bay leaves
2 tbsp tomato puree
500g minced beef
100ml red wine
2x 400g tin chopped tomatoes
125g Philadelphia with garlic & herbs
2 tbsp fresh basil leaves, chopped
Salt and freshly ground black pepper

For the white sauce
50g butter
50g plain flour
1l milk
200g Cheddar cheese, grated
1/2 tsp ground nutmeg

1 pack of lasagne sheets
2 tomatoes, sliced
40g Parmesan cheese, grated

1. In a large pan heat the olive oil, and sauté the onion, carrot and garlic for 2 minutes. Add the dried oregano, bay leaves and season with salt and freshly grated pepper. Fry the onion for another 5 minutes or until softened. Add the tomato puree and let it cook for a minute.

2. Stir in the meat, and cook until all the meat browned nicely. Add the wine, stir and let the alcohol cook off. Finally add the chopped tomatoes and simmer for another 5 minutes. Take it off the heat and mix with the Philadelphia. Discard the bay leaves.

3. For the sauce, melt the butter in a saucepan, add the flour and stir. Turn the heat down to absolute minimum and add a 1/4 of the milk, whisking quickly to prevent any lumps forming. If it thickens too fast, take the pan off the heat and add more milk. Add the rest of the milk gradually, whisking as you go.

4. Add the nutmeg and let it simmer for another 10 minutes, stirring often to prevent burning. Finally add the grated Cheddar cheese and stir well until smooth and fully incorporated. Turn off the heat.

5. Preheat the oven to 180C.

6. Cover the bottom of a baking dish with the cheese sauce and place pasta sheets on top. Spoon the meat sauce onto the pasta and spread evenly. Now add the cheese sauce on top of the meat. Repeat until all the meat and cheese sauce is used, reserving a little cheese sauce for the last layer. Add the last layer of pasta and cover with the remaining cheese sauce. Put the sliced tomatoes on top and finished with grated Parmesan cheese.

7. Bake for 30-35 minutes.


Quick supper - Broccoli Tart


I have recently taken a liking to savoury tarts. They are perfect as a very quick and easy lunch or supper and almost any vegetable, cheese or ham leftovers can be used. My favourite one is leek and bacon tart. This time I bought too much broccoli to make a broccoli soup and I was thinking what to do with rest of it. Actually another reason led me to make the tart. I have defrosted puff pastry planning to make a pumpkin parcels. However, after a complete fiasco with a thai pumpkin soup I decided it wasn't the best idea. I very rarely throw food away, but the pumpkin soup was an exception. We managed to eat a bowl each, but we could not bring ourselves to eat another one.

On the other hand, this type of tart was never a disappointment. It is very tasty hot, straight after baking, but it always makes a great job next day too. I found out it is very important to check the tart frequently to prevent the broccoli to be burned. Unfortunately, I burned some pieces which were not covered with cheese, even so it was delicious.

Broccoli tart
Serves 4

Ingredients
500g pack puff pastry
150g soft cheese (e.g. Philadelphia)
1 garlic clove, crashed
1 tbsp fresh basil, finely chopped
1 tbsp fresh chive, finely chopped
2 tbsp milk
2 heads of broccoli, broken into small pieces
10 spring onions, sliced
200g hard cheese (e.g. cheddar), grated

1 Preheat oven to 180C. Roll out the puff pastry on a floured surface to the size of your baking tray. Lay the pastry on a baking tray lined with baking paper.

2 Mix together the soft cheese, milk, garlic and fresh herbs, season to taste. Spread the mixture over the pastry. Cover the cheese with the broccoli and scatter over the spring onion and grated cheese.

3 Flip the edges of the pastry over the filling. Bake for about 20 minutes until golden.