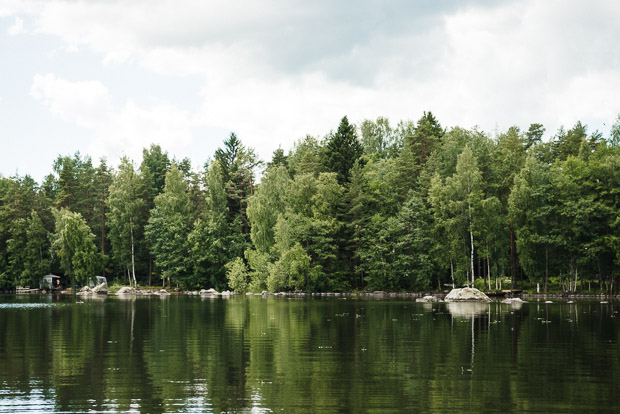
I returned from a holiday in Finland last week and all I can think of is a blueberry pie. It's been about five years since we were last in Finland but it felt like a year ago. That's what happens when you meet great friends again. It all comes back to you instantly, so many memories of all the great times we shared. Those are the best holidays. I came back relaxed and well rested.
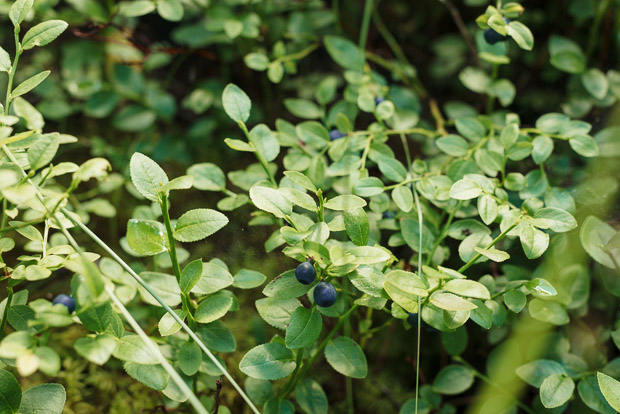
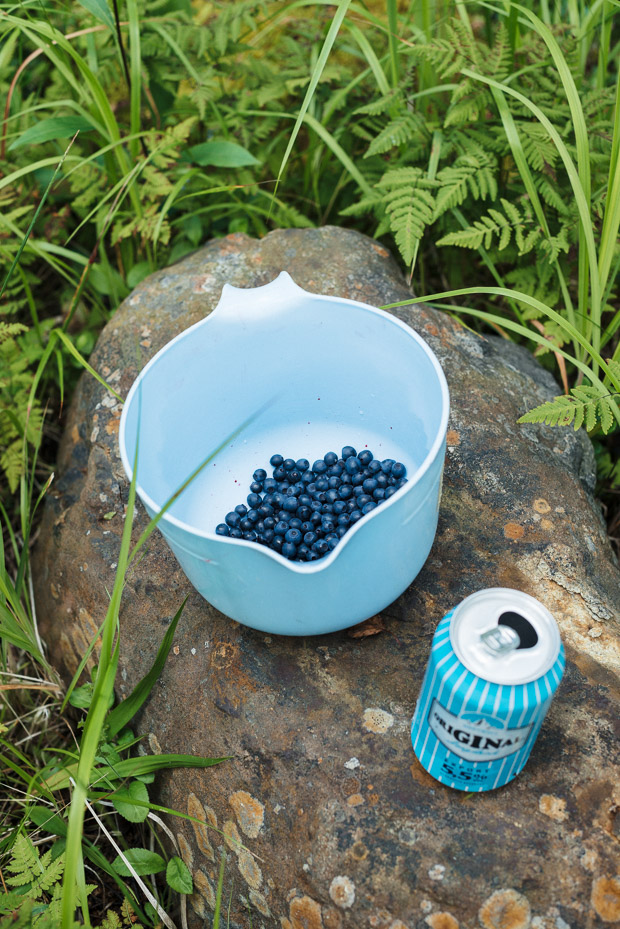
I'm a big fan of simple and delicious recipes. Many Finnish recipes are just like that. All you need to make a perfect meal are a few fresh, seasonal ingredients. Blueberry season has only started when we arrived at out friend's summer cottage but the forest floor was already covered in a beautiful blue carpet. It's hard to get wild forrest blueberries when you live in London so I usually go a bit nuts when I can pick these sweet blue jewels. Wild blueberries are the real deal unlike the commercially grown ones. They taste so much better!
I usually prefer all fruit raw, but when life gives you liters of blueberries you have to make a pie. I obviously had to ask my friend to share her recipe. It's the simplest and most delicious blueberry pie I've ever had.

_ _ _ _ _ _ _ _ _ _ _ _ _ _ _ _ _ _ _ _ _ _ _ _ _ _ _ _ _ _ _
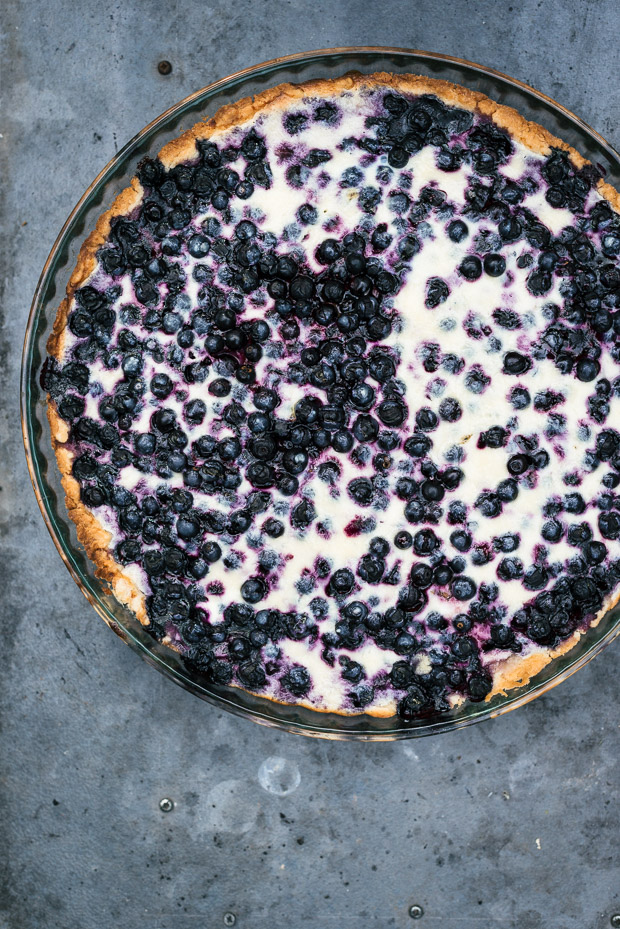
Finnish Blueberry Pie
Serves about 8
Ingredients
For the dough
100g unsalted butter, melted
1 eggs
75g sugar
180g plain flour
1tsp baking powder
For the filling
1 egg
200ml soured cream
75g sugar
blueberries
Method
Preheat oven to 200 degrees C. Grease a 20-23cm/8-9inch pie tin or pan. In a medium bowl, mix together sugar and egg, add the melted butter and stir well until combined. In another bowl, mix flour and baking powder and add it to the butter mixture. Stir together to form a soft dough. Pat the dough evenly over the bottom and sides of the pan. Add a lot of blueberries on top to fill the pan.
In a mixing bowl, combine sour cream, egg and sugar and pour over the blueberries. Bake for about 30 minutes. Let the pie cool down before slicing.