Showing posts with label Dessert. Show all posts

Gooseberry Galette

Gooseberry Galette

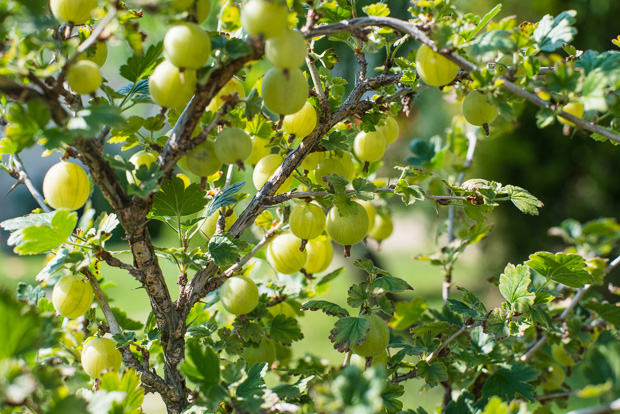
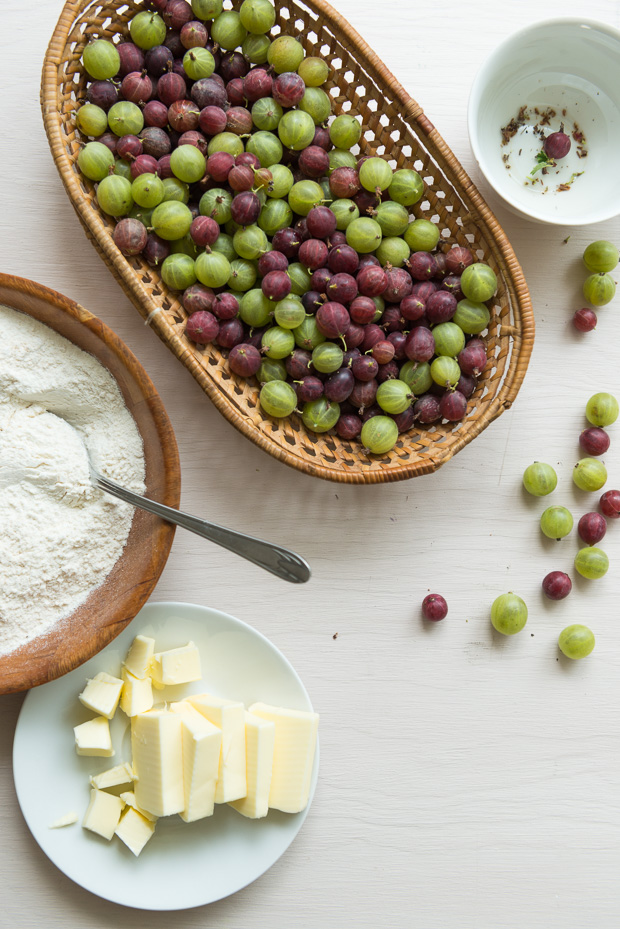
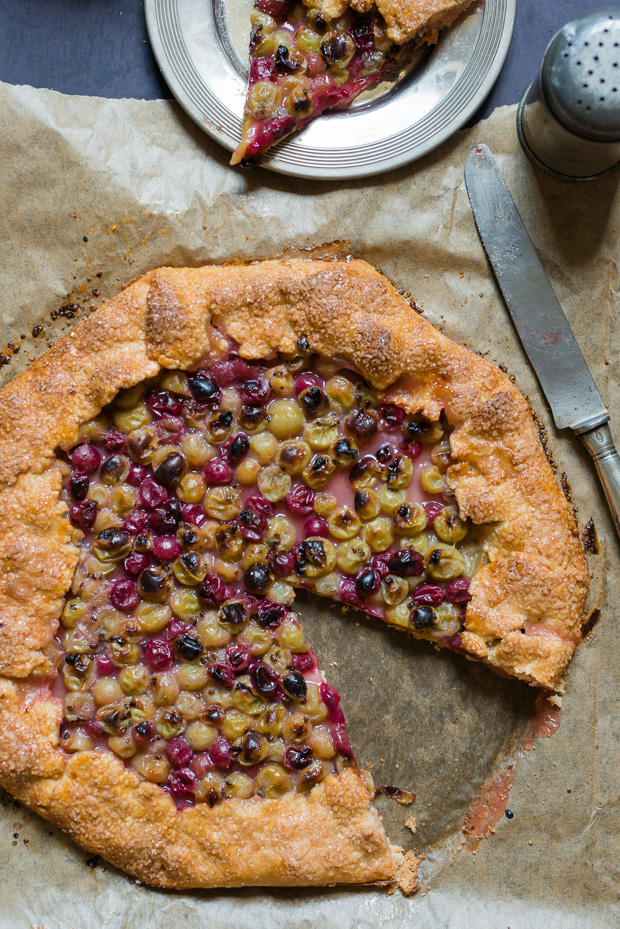
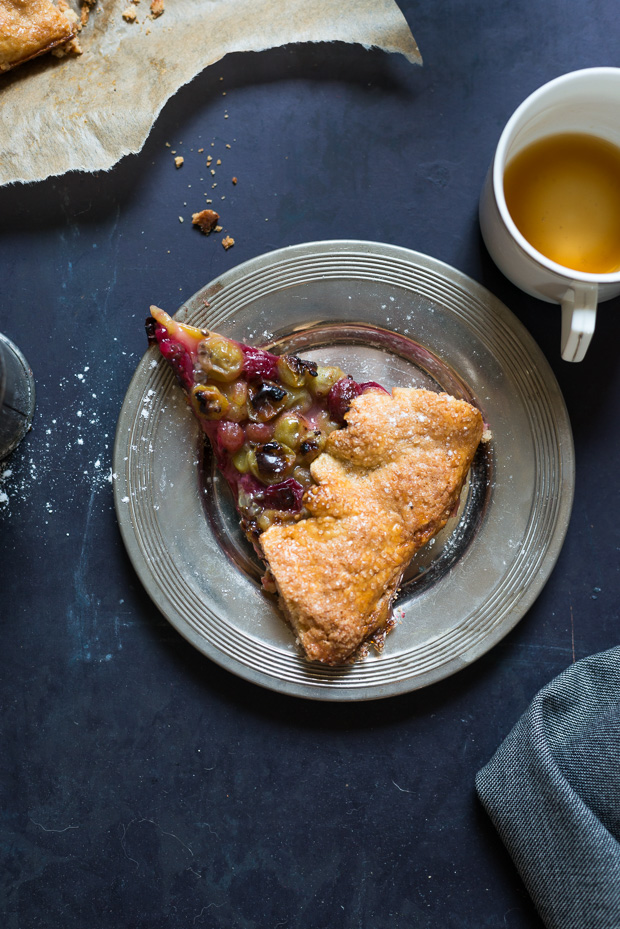
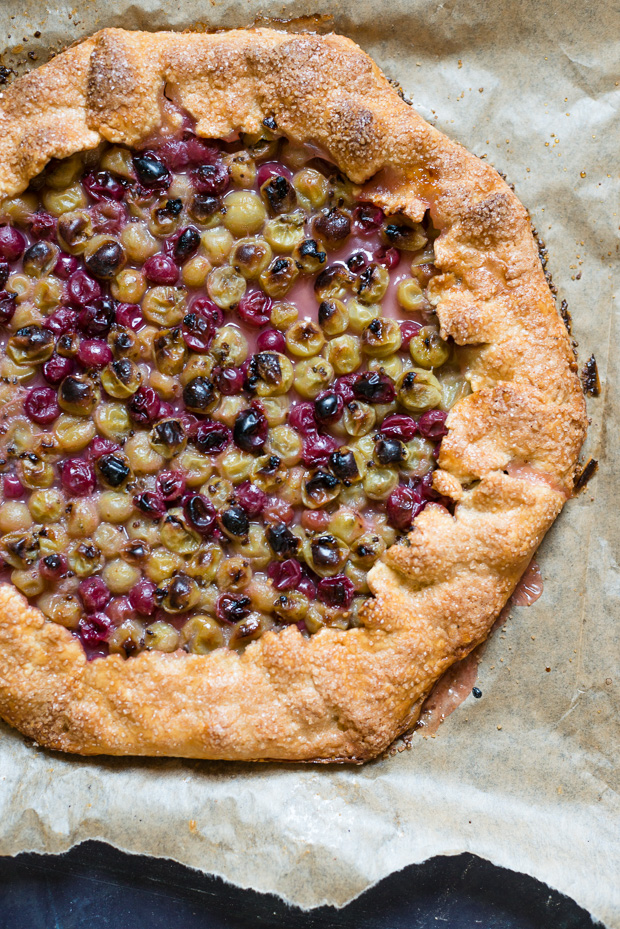
I wish summer could last forever or at least 6 months. There are so many reasons to love this season but fresh produce is one the most important ones; strawberries, blueberries, raspberries, gooseberries, red currants, cherries, green peas, tomatoes, radishes to name just a few of my favourites. This summer is especially amazing because I can enjoy fresh fruit and vegetables everyday. Morning yogurt with granola and freshly picked berries, lunch salads made from crunchy lettuce and greens, handfuls of fresh picked berries going straight in my mouth, snacking on radishes that were just washed off the dirt, that's my everyday reality and I can't even imagine it's going to end in a few weeks. I've been also baking a lot. Gooseberry galette was my latest experiment and I'm definitely going to make it again. My gooseberries were more on the sweet side, so I was surprised that they turned out to be quite tart and acidic after baking. However, I really like the contrast of sweetness of the crust and acidity of the gooseberries in this galette. It's a perfect hot summer day dessert.
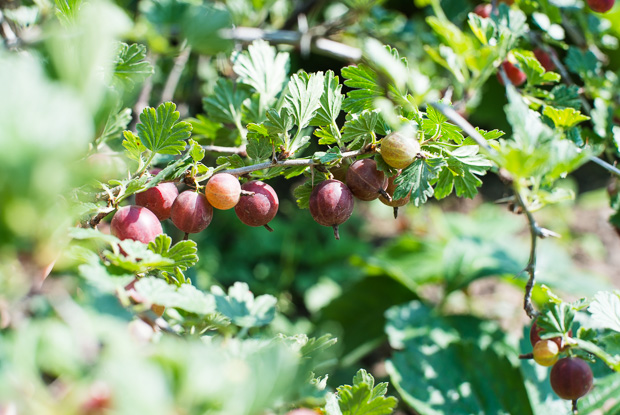
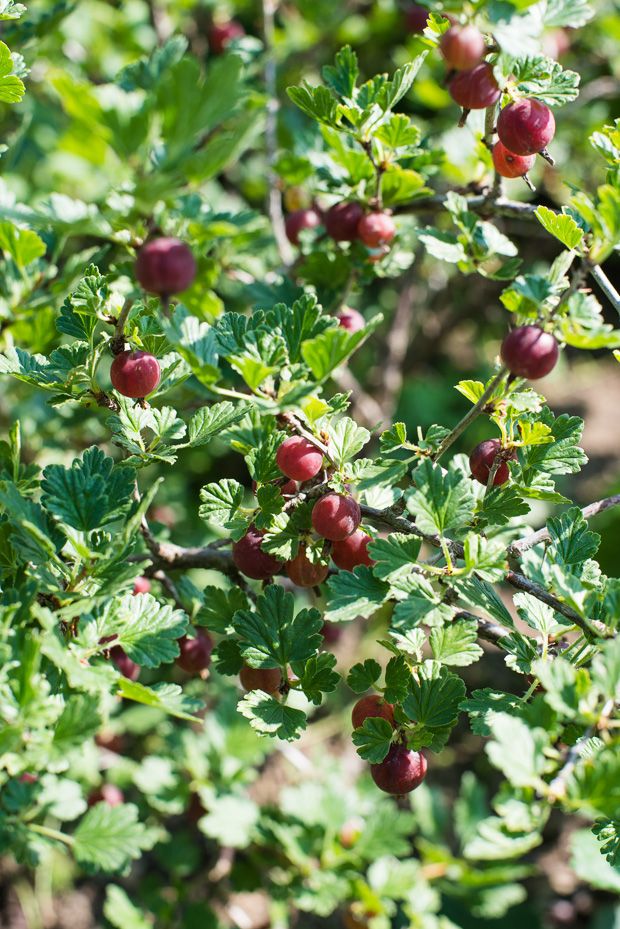
Red Gooseberries
Red Gooseberries
Gooseberries
Gooseberries
Gooseberry Galette
Gooseberry Galette

_ _ _ _ _ _ _ _ _ _ _ _ _ _ _ _ _ _ _ _ _ _ _ _ _ _ _ _ _ _ _ _ _ _ _ _ _ _ _ _ _ _ _ _ _ _ _ _ _ _ _ _


Gooseberry Galette
Serves about 8

Ingredients
125g plain flour
125g spelt flour
2 tbsp golden cane sugar
1/4 tsp salt
115 g cold unsalted butter, diced
3 tbsp cold milk
500g fresh gooseberries, topped and tailed
35g golden cane sugar
1 egg for egg wash

Method
Combine flours, sugar and salt in a medium bowl, then add diced butter and using your hands rub the butter in to the flour until you have pea sized crumbles. Add the cold milk and blend everything together with a fork. Do not knead the dough, just gather the clumps into a ball.
Wrap it tightly in plastic wrap and flatten it a bit. Refrigerate for at least an hour. (I left the dough in the refrigerator for two days, because I didn't have time to bake the galette the same day.)

Preheat oven to 180℃. Unwrap the dough and press the edges so that there are no cracks. Dust a sheet of parchment paper with flour and roll out the dough into a 25cm circle about 0.3 - 0.5cm thick. Transfer the dough on the parchment paper to a baking sheet. Sprinkle over the gooseberries, leaving a 5cm border. Sprinkle with most of the sugar, reserving 1 tbsp of sugar to sprinkle over the edges. Fold the edges over the gooseberries, brush the edges with egg wash and sprinkle with the remaining sugar.

Bake on the lower half of the oven for about 35-40 minutes until the crust is golden brown.


No Bake Summer Blackberry Quark Cake

Summer Blackberry cake

Sometimes I feel like my life has turned into one big detox run. I started running. Quite literally. It's actually a big statement for me, since anyone who knows me well knows that I would never go for a run. I tried running a few times but always gave up after two or three days. Catching up breath every time I would run for more than two minutes didn't appeal to me at all. I seriously hated running and thought it is the only sport I could never do.

Well... Never say never!

Three month ago I started running and haven't stopped since. I run 3-5 times a week and I love it. My body loves it and asks for it! Something I would have never imagined.

Blackberries

But let's get back to the detox part. About a month ago, shortly before FBC5, I decided I need to detox.  The whole house joined me in a mutual effort and together we passed ten days of a 14-day mini summer detox; a vegan one. Then FBC5 came and the detox was over. Feelings of guilt from indulging all the lovely food from FBC5 street food vendors and gained pounds convinced us to start another detox, this time a one month long one. The only problem is, that I'm naturally not a vegetarian nor a vegan and 18 days of a vegan detox just proved the fact. What started as an interesting experiment and challenge proved to be almost dangerous in the end. Those few weeks without any wheat, sugar, alcohol, tea, coffee, eggs, dairy, meat and fish were the longest weeks in my life. I was seriously losing my mind and I had to say stop.
I've never been craving eggs, yogurt, cheese and fish so much in my life. Strangely enough I could do without meat for much longer if I was allowed to eat everything mentioned earlier.

Long story short. We celebrated 18 days (out of 28) of vegan detox with cheese burgers (in lettuce cups)! They never tasted so good! I had to admit though that I was feeling really good after almost a month of detoxing and didn't want to go back to my normal eating habits. The result is reducing wheat, gluten, dairy and meat  (and alcohol) in my everyday diet. I still eat those things but not as often and not as much. I also started experimenting with different recipes and combination of ingredients.

Sugar is also not allowed in my daily repertoire of ingredients which doesn't mean I don't have sweet cravings. And because blackberries have finally started to ripen and there are so many of them everywhere, I decided to make a cake. I was thinking how can I incorporate all new eating rules and habits and still be able to make my favourite summer non-bake quark cake. The result is almost better than my original recipe! I already had two big slices of this creamy goodness and I'm afraid I will go for more very soon! :)

This cake is not vegan but it's gluten, egg and sugar free and absolutely delicious!

Blackberry cake
Blackberry Quark cake
_ _ _ _ _ _ _ _ _ _ _ _ _ _ _ _ _ _ _ _ _ _ _ _ _ _ _ _ _ _ _ _ _ _ _ _ _ _ _ _ _ _ _ _ _ _ _ _ _ _ _ _

No bake blackberry quark cake
Serves 8 - 12

Ingredients
150g walnuts
150g hazelnuts
1/2tsp sea salt
2tbsp coconut oil
8-9 pitted large soft dates (medjool or similar)
70g ground flaxseed
1tbsp water

750g quark
250g soured cream
4tbsp honey
1 punnet blackberries
zest of one lime
1tbsp fresh mint leaves


Method
Add all nuts and sea salt to a food processor and pulse for a few seconds until the nuts are finely chopped but not powdered. Transfer nuts into a bowl. Add dates and coconut oil into the food processor and process until they reach paste consistency. Add the chopped nuts, flaxseeds and water and pulse until all ingredients start to come together. They don't have to be combined completely. Place into a bowl and mix with your hands until all ingredients are completely combined into a sticky ball.

Transfer the nut mixture in a 20cm round spring-form tin and press down with you hand to evenly cover bottom of the pan. Chill in the fridge while you prepare quark filling.

In a bowl, add quark, soured cream, honey and lime zest and stir with a spoon until combined. Add 3/4 of blackberries and stir again. Remove the cake tin from the fridge and spoon the filling on top of the crust.  Spread evenly and decorate with the remaining fruit. Chill in the fridge for a couple of hours or overnight. Just before serving sprinkle with fresh mint leaves.

_ _ _ _ _ _ _ _ _ _ _ _ _ _ _ _ _ _ _ _ _ _ _ _ _ _ _ _ _ _ _ _ _ _ _ _ _ _ _ _ _ _ _ _ _ _ _ _ _ _ _ _


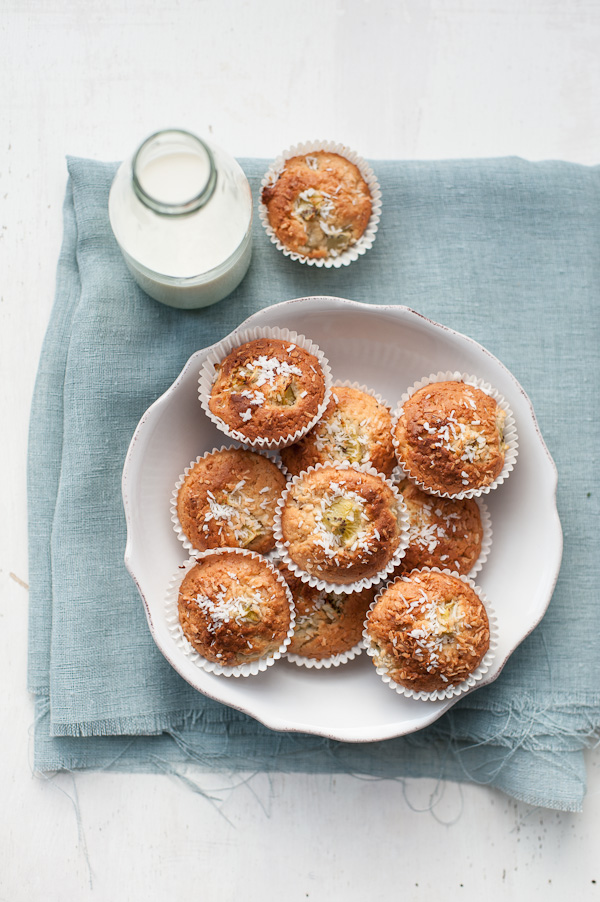
Green is The Colour - Kiwi Fruit Muffins with Coconut

Kiwi fruit muffins

What is the colour of spring? Of course it's green! I need lots of this colour in my life. Generally, I need colours (and light) in my life, but green has a special place and meaning. Green to me represents freshness and vitality. It's a positive colour.

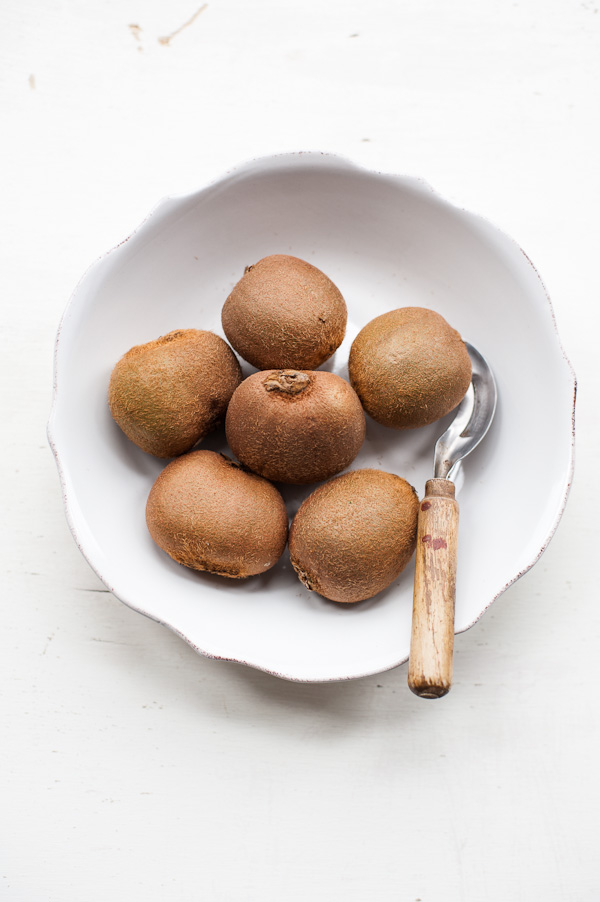
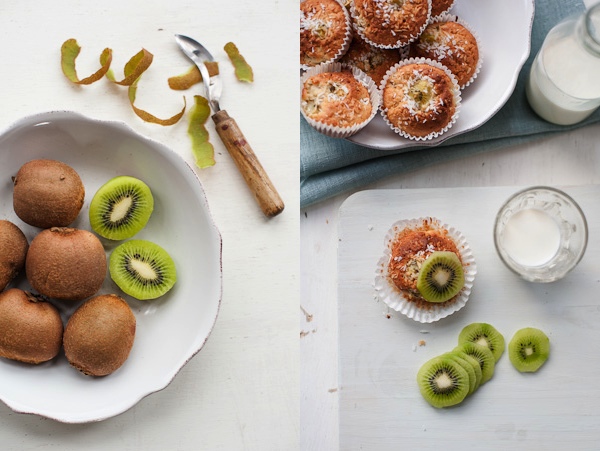
Last week I bought a basket of kiwi fruits. I blended a few of them with banana, grapes and apples for our morning smoothies or mixed them with yogurt. I still had so many kiwi fruits left and didn't know what to do with them. Then I suddenly came up with the idea of "green muffins". I loved the idea and started playing around. Sadly, the first batch was a complete disaster and ended up in the bin. I learned that you should never mash kiwi fruits and mix them with other ingredients, unless you want soggy inside and burnt outside muffins. Not my idea of light green soft and fluffy muffins at all. Second try was perfect!


Kiwi fruits in a bowl
Kiwi fruit muffins
Kiwi Fruit Muffins

This recipe inspired me to experiment with kiwi fruit even more. I already drafted another two recipes I would like to try, so stay tuned!

In the meantime, I hope you enjoy my green muffins.

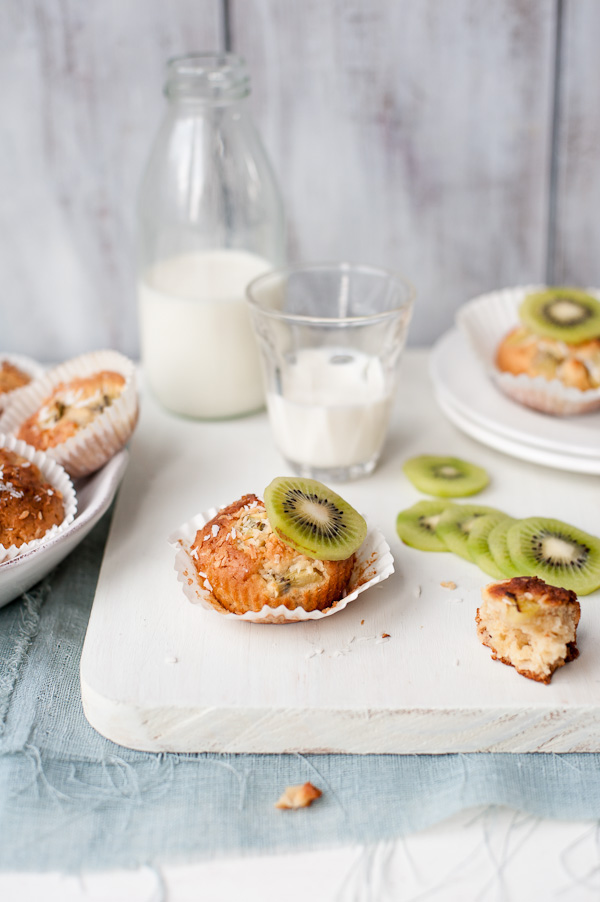
Kiwi muffins

Kiwi fruit muffins
Makes 8 muffins

75g self raising flour
40g plain flour
45g ground almonds
20g desiccated coconut
80g sugar
pinch of salt
60g melted unsalted butter, cooled
1 egg
65ml buttermilk
3 kiwi fruits, peeled and cubed
1tbsp desiccated coconut
1 kiwi fruit, peeled and sliced (optional)

Preheat the oven to 180℃.
Mix all dry ingredients in a bowl. In another bowl, lightly whisk the egg, stir in buttermilk and melted butter. Pour the wet ingredients into the dry mixture and stir until well combined. Gently stir in most of  the kiwi (reserve one tablespoon) and spoon the mixture into a lined muffin pan. Top the muffins with remaining kiwi pieces and sprinkle coconut on top.
Baked for 25-23 minutes until lightly golden and a skewer inserted comes out clean.
Let them cool down a bit before serving. You can serve them with fresh kiwi slices.


Buckwheat and Linwoods Flaxseed Berry Crepes


Summer is undoubtedly here, and I'm very happy! I enjoy our boiling hot summer. Yes, I love hot weather and long days. But, what I love most about this season of the year, is summer fruit. I know strawberries, blueberries, raspberries and all kind of berries are available all year round, but let's be honest, the flavour of freshly picked local strawberries is incomparable. And just imagine a smooth and flavoursome apricot or peach, that's the true taste of summer!


So when I got my package of Linwoods' Milled flaxseed, cocoa & berries, I knew instantly what I was going to make. I wanted to create a recipe that would complement a nice strong flavour of cocoa & berries in this Lindwoods' mix. We got some of Linwoods' products last year in our Food Blogger Connect 2009 goodie bags, and I mostly enjoyed them in my morning yogurt or fruit crumbles.

Crepes with fresh fruit sounded fairly good to me. I paired Milled flaxseed, cocoa & berries with buckwheat flour, which has a nice nutty flavour, to create very flavoursome and gluten-free crepes. Served with sour cream and fresh berries, these crepes make a wonderful summer treat!


Buckwheat and flaxseed berry crepes

Makes about 6 crepes

1/2 cup (65g) buckwheat flour
1/4 cup (30g) Linwoods flaxseed cocoa&berries
1/4 cup (45g) cane sugar
1/4 tsp salt
1 1/4 cup (315ml) milk
2 eggs
2 tbsp (25g) melted butter
vegetable oil for frying

2 cups fresh strawberries
1 cup fresh blueberries
1 cup (250ml) sour cream


1. In a medium bowl, stir together the buckwheat flour, Linwoods flaxseed, sugar and salt. Whisk in milk and add the eggs. Add the melted butter and whisk until fully incorporated.

2. Heat a lightly greased frying pan over a medium heat. Ladle or pour a little batter (depending on your frying pan size, just enough so it will thinly coat your pan) into the pan and tilt and rotate the pan until the batter coats the bottom evenly. Cook over medium-high heat until the edges start to brown. Flip the crepe and cook the second side for a few more seconds.
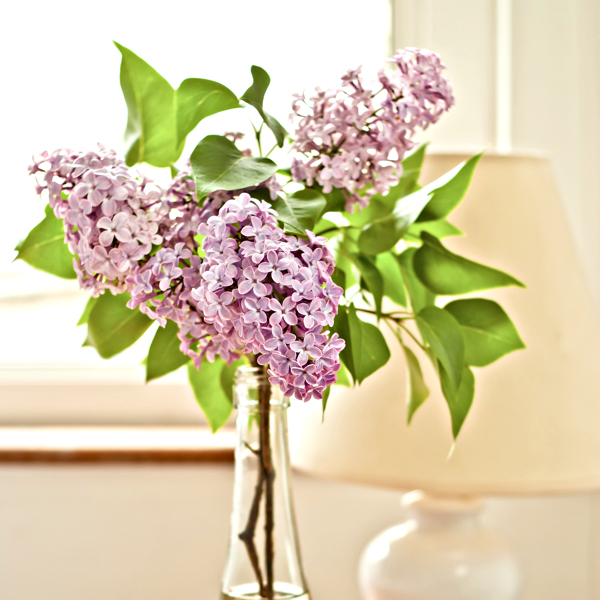
3. Remove the cooked crepe from the pan and place it on a plate. Fold each crepe into quarters and fill with sour cream and fresh berries.

Pistachio Ice Cream and Photography Creativity


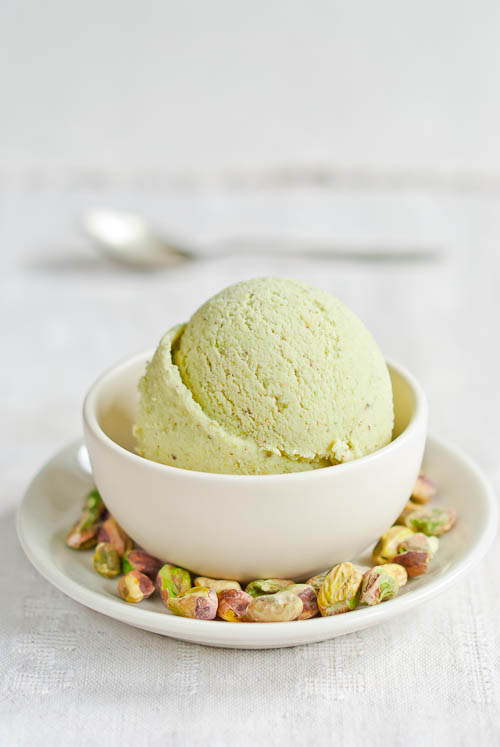
I made pistachio ice cream quite a while ago and waited too long to post the recipe. It has been in the freezer for a month or so and I wasn't able to take a decent photo to show you how delicious it is. I only have one photo. Yes, only ONE! I can't believe it myself. What is wrong with me? I have been lacking inspiration and creativity. I haven't made a nice photograph in a while. I can't! It's very frustrating! I love photography and I do love food photography. But I'm stuck, and it doesn't help to just hit the shutter button and wait for a miracle.

It takes a lot more to be a photographer and create beautiful photos.

"You don't take a photograph, you make it." - Ansel Adams

I'm not a photographer, or at least I can't call myself a professional photographer. I'm just a passionate amateur. Taking photographs makes me happy and that's what is important. However, I have to take a break from food photography. I need to recharge my inner photography battery, and then I will come back and make beautiful photos again. Well, I hope I will.
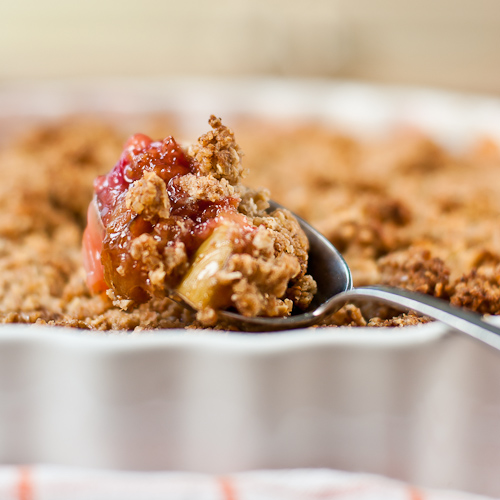
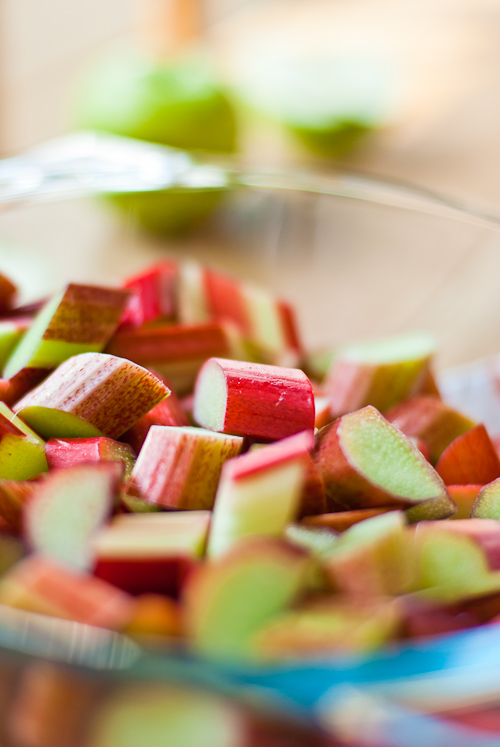
So please bear with me. Today I won't share my favourite photos with you, I don't have any favourites except this one, my first macro photo. I like its colours.


At least I can share this yummy pistachio ice cream recipe. Pistachio has been my favourite ice cream flavour since I was a kid. There's one really good thing about ice cream, it makes me happy whenever I eat it! :)


Pistachio ice cream

250g pistachios
280g demerara sugar
1l milk
500g creme fraiche

1. Pour the milk into a saucepan and add the sugar. Bring to a boil over a medium heat. Remove from the heat and let cool completely.

2. Meanwhile, ground the pistachios in a food processor or blender. Whisk together the pistachios, creme fraiche and milk until well combined.

3. Freeze in your ice cream maker according to the manufacturer's instructions. If you don't have an ice cream maker follow these instructions. Pour your ice cream mixture into a freezer safe container and place it in the freezer. As the mixture starts to freeze around the edges, remove it from the freezer and stir well. Try to break up any frozen sections. Return to freezer. Repeat the process until the mixture is smooth and frozen. I often use a hand blender to break up all frozen crystals.


Rhubarb and Apple Crumble


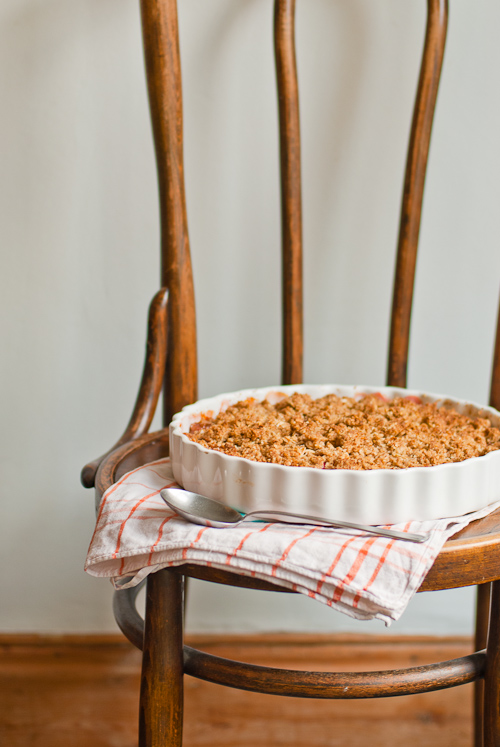
I couldn't wait to share this recipe with you. I know, you may think it's just another rhubarb crumble recipe. If you look around the food blogosphere, you will probably find hundreds of rhubarb recipes at the moment, rhubarb crumble recipes in particular. It seems that rhubarb is in season all around the world. However, I think there are never enough rhubarb recipes! So I hope you won't mind when I add one more.


I have always loved rhubarb, but not as much as my older brother. I think my mum's rhubarb crumb cake was his most favourite dessert ever. Luckily for him, our grandparents used to grow rhubarb in their garden and supplied us with lots of rhubarb most of the summer. It seemed to me that rhubarb was more like a weed, it was harder to kill than grow. So my grandparents had lots and lots of it! What would I give for their rhubarb now! Sigh!


I prefer desserts with more fruit and less pastry or dough, and so does P. Then it comes as no surprise that our favourite dessert is crumble. I might actually say that crumble was partially responsible for the birth of this blog, which creates a special relationship between crumble and me. Just check my first blog post, where I posted a recipe for apple crumble, followed by a strawberry crumble recipe less than a week later. Three crumble recipes aren't too many for one blog, are they? But believe me, this one was the best crumble I have made so far, or at least I thought so while I munched on still warm, freshly baked crunchy crumble.


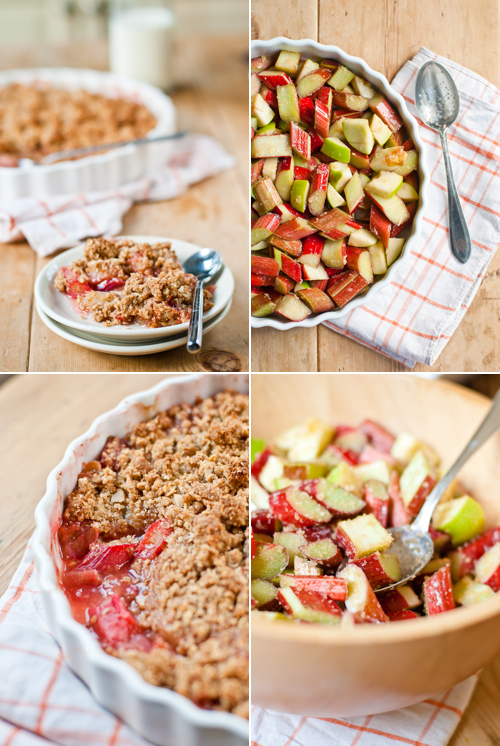
Rhubarb and apple crumble

fruit filling:
8-9 stalks rhubarb, cut into 2cm pieces
2 apples, cored and diced
3cm piece fresh ginger, peeled and grated
2 tbsp rum
1 tbsp cornstarch
65g light brown sugar

crumble:
85g wholemeal plain flour
65g light brown sugar
50g rolled oats
75g unsalted butter, softened
l/2 tsp salt
pinch freshly ground black pepper
1/4 cup flaked almods

1. Preheat the oven to 180C and butter a gratin dish.
2. In a medium bowl mix the flour, oats, sugar, salt, black pepper and almonds. Add the butter and rub in with your fingertips until the mixture resembles breadcrumbs. Gather the mixture into a ball and place in the freezer for about 10 minutes.
3. Mix together sugar and cornstarch in a large bowl, add the apples, rhubarb and ginger, and toss until evenly coated. Pour in the rum and toss again.
4. Place the fruit mixture in the prepared gratin dish and sprinkle the crumble filling over the top.
5. Bake for 30-40 minutes, or until the crumble mixture is golden brown and the fruit filling is bubbling.
6. Let it cool down for at least 15 minutes before serving.


Ginger and Pear Muffins


Do you sometimes feel like you are desperately looking for inspiration, but inspiration doesn't come? I feel very distracted after spending two amazing weeks with our friends and can't get back on track. I often feel the same way after a holiday.

I need to get myself sorted, fast! So please sun, keep shining! It's the beginning of May and the weather changes every day. Sun, rain, sun, rain... I know I live in London. However, can we make a deal? What about sun, sun, rain, sun, sun, rain...? It would be much better! Ok, I should stop complaining.


Well, I have some good news. I don't know if you noticed anything different here. It's not really obvious. So, here's what's new.

Cooking Your Dream got its own domain! Yay! I'm so excited. Actually, P. made me do it. I didn't consider it so important to get my own domain. However, I must confess I felt very excited when I typed cookingyourdream.com in the browser's address bar, hit go and the browser showed me my blog! Sometimes even small things make you happy.

Lost comments are less joyful part of this story. I moved to the new domain on Saturday and none of my comments have come back yet. I still wait and hope.


I know that the sun, flowers, baking, good music, taking photos and my beloved ones always make me happy. You can imagine I was in a ridiculously good mood when we finally managed to visit a local farmers' market on Saturday. I forgot about lost comments and just enjoyed a beautiful day, almost summer-like day. The farmers market was fantastic. I bought some vegetable, olives and rhubarb, P. ate two burgers and then we tasted organic wine. Our curiosity didn't let us leave without one goose egg.


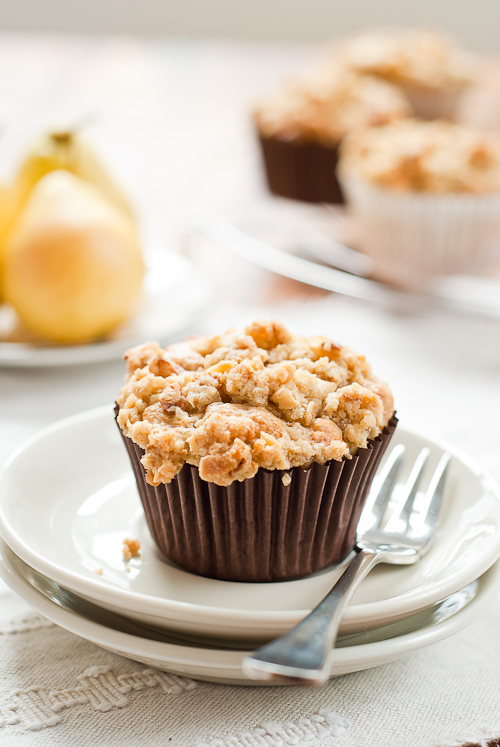
We had definitely more fun photographing the egg than eating it. We decided to make scrambled eggs, but it tasted very different from chicken eggs. I didn't like it. Luckily I still had a few pear muffins. They tasted fantastic!


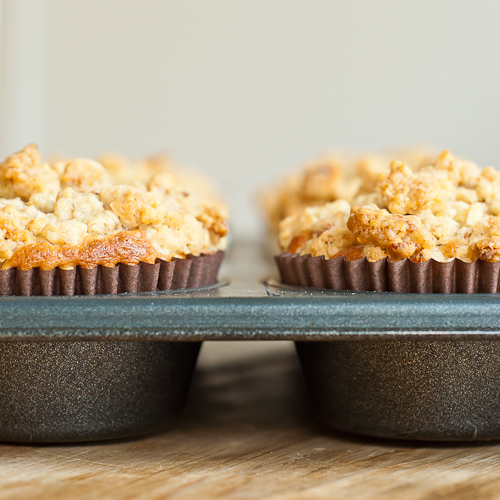
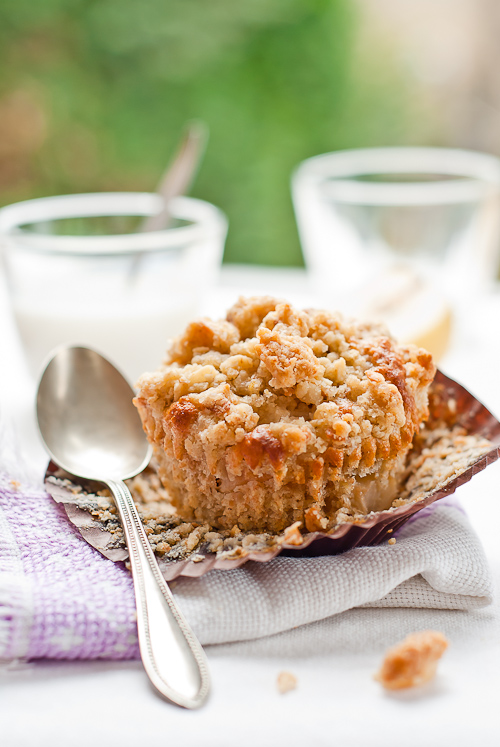
Ginger and pear muffins

muffins
165 g plain flour
120 g whole wheat flour
2 tsp baking powder
1/2 tsp salt
1 tbsp grated lemon zest
1-2 tbsp grated fresh ginger
2 large eggs
1tsp vanilla
40g unsalted butter, melted
165g light brown sugar
250ml plain yogurt
3 pears, peeled and diced
1/2 cup plain granola

crumb topping
1 cup plain granola
60g plain flour
100g light brown sugar
pinch of salt
2tbsp sliced almonds
70g chilled unsalted butter

1. Preheat oven to 180C.
2. In a medium bowl combine both flours, baking powder, salt, lemon zest and ginger.
3. In another bowl, whisk together eggs, sugar, vanilla, yogurt and butter. Pour this mixture into the dry ingredients and mix until combined. Gently fold in the pears and granola.
5. Make crumb topping. In a bowl, toss together granola, flour, sugar, salt and almonds. Add the butter and rub between your fingers until it resembles breadcrumbs.
6. Divide the batter evenly among the prepared paper lined muffin pan, filling each cup 3/4 full. Sprinkle with crumb topping.
7. Bake for about 20 minutes, or until a toothpick inserted in the center of a muffin comes out clean.
8. Let the pan cool for 5 minutes before removing muffins. Remove the muffins from the pan and place them on a rack to cool completely.


Gluten Free Chocolate and Nut Cookies


I originally wanted to write about a traditional Czech Easter sweet bread. I did bake the bread, and I took pictures of it. But then, I changed my mind. Not only a special flour is needed for the bread, which I think you can not find easily everywhere, but I also wanted to enjoy some leisure time with P. during Easter, and I didn't feel like writing a blog post. I'm truly terribly lazy some days.


But don't worry, I have something better for you today. My first gluten free cookies! These cookies represent my very first experience with gluten-free baking. It wasn't difficult at all, in the end. I have been wanting to bake gluten free something for a while, but I couldn't find any gluten free flour anywhere in our local supermarkets.

Most of gluten free recipes call for amaranth or quinoa flour which I still can't find. What I used for my cookies is a gluten and wheat free plain white flour blend. This flour blend is milled from rice, potato, tapioca, maize and buckwheat.


We spent a couple of nice days with our friends and ate a lot of food during the long weekend. I mean really a lot! I felt like a hot air balloon. Then P. cooked lamb chops with sage and rosemary for lunch on Sunday. I was still craving something sweet, but I wanted to make a light dessert after such a feast. And that was when these cookies came to my mind.

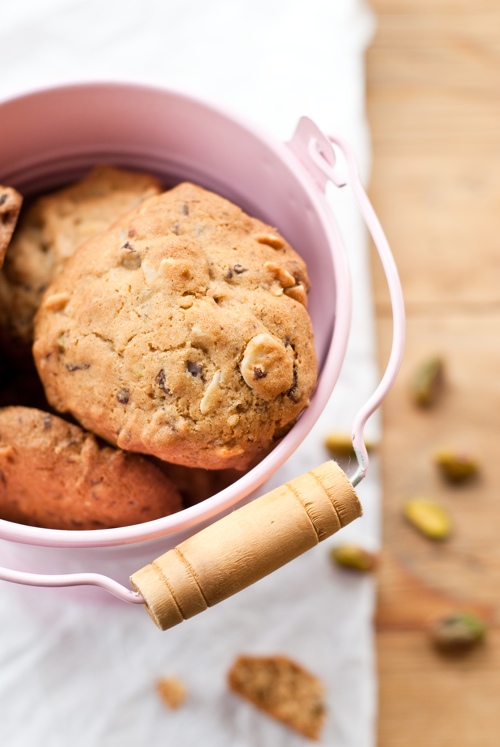
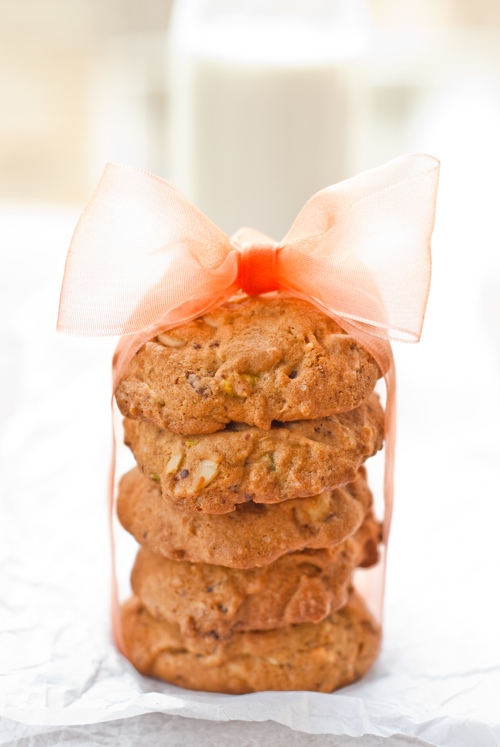
I was very happy with the result. I used all different kinds of nuts I found in my cupboard, and added a quality dark chocolate. The taste was amazing and they were nicely tender in texture. I wouldn't recognise they are made with a gluten free flour. I can honestly say I look forward to trying more gluten free recipes.


Gluten free chocolate and nut cookies

320g gluten free flour blend
1 tsp baking soda
1 tsp xanthan gum
1 tsp salt
190g unsalted butter, room temperature
155g golden cane sugar
75g dark brown sugar
2 eggs
1 tsp vanilla
100g chocolate, chopped
40g hazelnuts, roughly chopped
60g pistachios, roughly chopped
60g almonds, roughly chopped

1. Sift all the dry ingredients together in a medium bowl. Set aside.

2. Cream the butter and sugar together until light. Scrape the bowl to make sure the butter and sugar are well combined, and add the eggs one at a time. Then add the vanilla.

2. Slowly add your dry ingredients to the butter mixture and mix until it comes together.

3. Finally add in all the nuts and chocolate and mix well to combine.

4. Cover the bowl with foil and chill the dough for a few hours.

5. Preheat oven to 175C. Scoop a tablespoon of dough and place it on baking tray lined with parchment paper. Bake for 10-12 minutes.