Showing posts with label Chocolate. Show all posts

Gluten Free Chocolate and Nut Cookies


I originally wanted to write about a traditional Czech Easter sweet bread. I did bake the bread, and I took pictures of it. But then, I changed my mind. Not only a special flour is needed for the bread, which I think you can not find easily everywhere, but I also wanted to enjoy some leisure time with P. during Easter, and I didn't feel like writing a blog post. I'm truly terribly lazy some days.


But don't worry, I have something better for you today. My first gluten free cookies! These cookies represent my very first experience with gluten-free baking. It wasn't difficult at all, in the end. I have been wanting to bake gluten free something for a while, but I couldn't find any gluten free flour anywhere in our local supermarkets.

Most of gluten free recipes call for amaranth or quinoa flour which I still can't find. What I used for my cookies is a gluten and wheat free plain white flour blend. This flour blend is milled from rice, potato, tapioca, maize and buckwheat.


We spent a couple of nice days with our friends and ate a lot of food during the long weekend. I mean really a lot! I felt like a hot air balloon. Then P. cooked lamb chops with sage and rosemary for lunch on Sunday. I was still craving something sweet, but I wanted to make a light dessert after such a feast. And that was when these cookies came to my mind.

I was very happy with the result. I used all different kinds of nuts I found in my cupboard, and added a quality dark chocolate. The taste was amazing and they were nicely tender in texture. I wouldn't recognise they are made with a gluten free flour. I can honestly say I look forward to trying more gluten free recipes.



Gluten free chocolate and nut cookies

320g gluten free flour blend
1 tsp baking soda
1 tsp xanthan gum
1 tsp salt
190g unsalted butter, room temperature
155g golden cane sugar
75g dark brown sugar
2 eggs
1 tsp vanilla
100g chocolate, chopped
40g hazelnuts, roughly chopped
60g pistachios, roughly chopped
60g almonds, roughly chopped

1. Sift all the dry ingredients together in a medium bowl. Set aside.

2. Cream the butter and sugar together until light. Scrape the bowl to make sure the butter and sugar are well combined, and add the eggs one at a time. Then add the vanilla.

2. Slowly add your dry ingredients to the butter mixture and mix until it comes together.

3. Finally add in all the nuts and chocolate and mix well to combine.

4. Cover the bowl with foil and chill the dough for a few hours.

5. Preheat oven to 175C. Scoop a tablespoon of dough and place it on baking tray lined with parchment paper. Bake for 10-12 minutes.

Chocolate brioche and Monthly Mingle


Last week I announced my first participation in a blogger event. I joined Coulinary Tour 2010. During the virtual foodie visit in Brazil I found my new sweet passion - Dulce de Leche. You can still join the tour if you are interested and explore new culinary worlds. I've truly enjoyed the event and decided to go on.

I might have already confessed that I have a sweet tooth. My sweet tooth and the fact that I constantly try to improve my bread-making skills inspired me to join another blogger event. This time I chose Monthly Mingle hosted by Jamie from the lovely blog Life's a feast. The theme for this month is Bread & Chocolate. I just could not resist!


To be honest, it took me a while to decide what was I going to bake. Bread and chocolate? I did not want to think about a classical bread. I just didn't like the idea of sweet chocolate bread. But what else can be counted as bread? I found many chocolate bread recipes. I wasn't intrigued by any of those.

I woke up on Saturday morning with a sudden flash of inspiration. Brioche! But... What is brioche? Is it type of bread? I have never tasted it. Again! There are so many goodies I still don't know! I love foodie world. Sometime it is kind of frustrating though. I feel like a kid in the grown-up world. A friend of mine talked about brioche a couple of weeks ago. He said it was delicious. That's all I knew.

Thank you uncle Google. You know everything what I don't know! You helped me again.


Wikipedia. Another favourite site of mine!

"Brioche is a highly enriched French bread, whose high egg and butter content give it what is seen as a rich and tender crumb. It has a dark, golden, and flaky crust from an egg wash applied before and ager proofing."
Source: Wikipedia

Bingo! That's the one I have been looking for. Let's just add some chocolate. Yum!


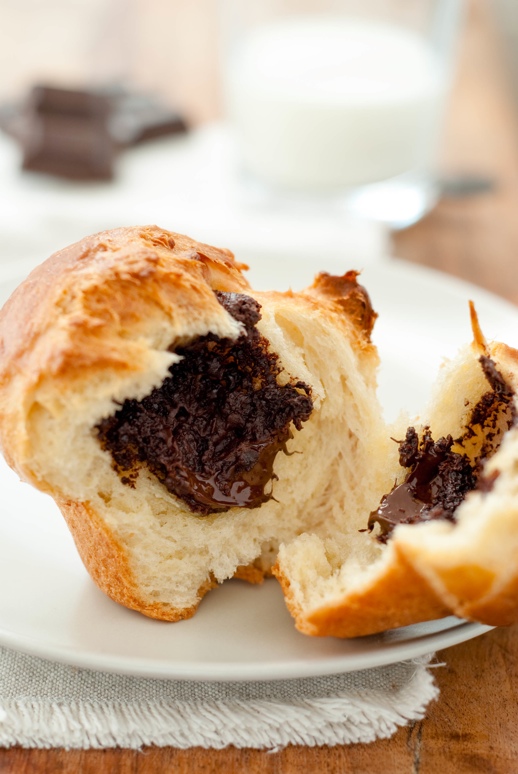
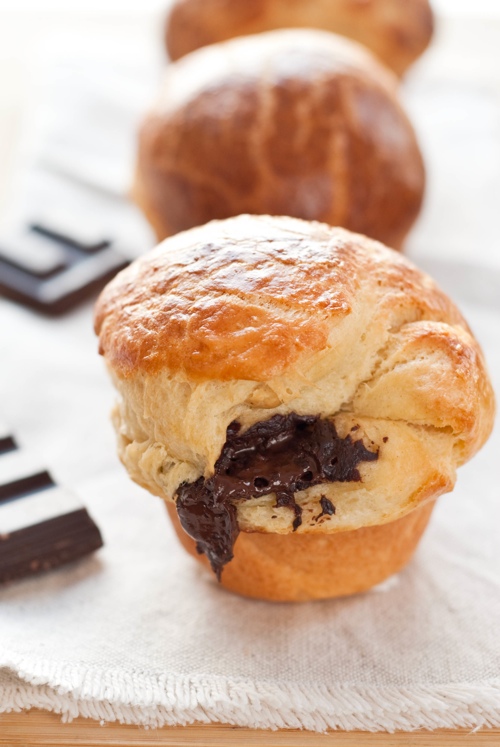
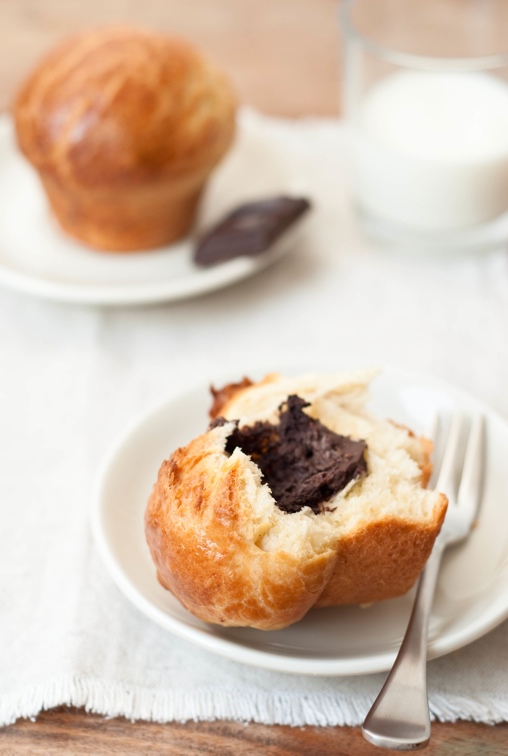
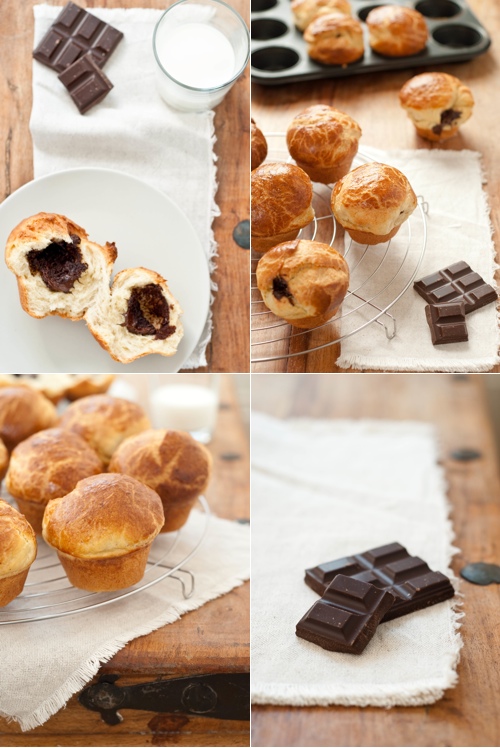
I liked brioche a lot. I will definitely make it again. I just wonder if I can freeze them. We had a hard time eating 12 rich and buttery brioches. I might also point out that the recipe originally called for kneading dough in a stand mixer. As I don't have one, I had to knead it by hands. I also had to ask P. for help during a phase where recipe said "increase speed to medium-high"! :) Fresh warm brioche with melted chocolate centre was well worth all the effort!


Chocolate Brioche

Ingredients
1/3 cup warm milk
1/3 cup warm water
10 g dry active yeast
450 g plain flour
2 tsp salt
3 large eggs
55 g sugar
300 g butter, cut into small cubes, softened
150g dark chocolate, broken into pieces
1 egg, beaten with 1 tbsp water, for egg wash


1. In a large bowl mix warm water, warm milk, 1 teaspoon of sugar and yeast. Stir until yeast dissolves and let proof for 10 minutes.

2. Add flour and salt and mix with a wooden spoon until flour is moistened. Beat in eggs, adding one egg at a time, making sure each egg is well incorporated before adding another one.

3. Add sugar and keep kneading dough until it comes together. Now comes the tricky part. Mix in butter, adding only one or two cubes at a time, kneading well until each cube is incorporated before adding another cube. This can takes about 10 minutes before all butter is fully incorporated. Dough is fully kneaded when it pulls away form sides of your bowl.

4. Transfer the dough into a clean bowl, cover with a plastic wrap and let it rise at room temperature for 1 hours or until double in size. Lift up dough around edges and allow it to deflate.

5. Refrigerate the dough for 2 hours. Punch the dough down to deflate it every 30 minutes until it stops rising. Cover bowl with a plastic wrap and refrigerate overnight.

6. When you are ready to make brioche, butter a muffin pan or brioche tins you want to use.

7. Take the dough out of the refrigerator and scrape it out on a floured surface. Divide dough into 12 equal pieces. Roll each piece between your palms to form a ball. Flatten each ball of dough and put several pieces of chocolate in the middle of each one. Roll up into a ball shape and place in the pan.

8. Cover the pan loosely with a plastic wrap and let rise for two hours at room temperature.

9. Brush each ball with egg wash and bake in the preheated oven to 180C/fan for 20 - 25 minutes until golden brown.

10. Allow brioche to cool for a couple of minutes in the pan and then transfer onto the cooling rack.


Picture of the Day

My blog's subtitle is "Sari's food (and) photography passion", which means I do love food but I also do love photography. And, of course both together logically create a food photography. Hence, and I hope you won't mind, I will post some of my favourite photos from time to time without sharing any recipe. Let's call it my favourite pictures of the day!

I hope you enjoy it! :)


Have a nice weekend!

Back to Reality


It has been more than one week since Food Bloggers Connect '09, the first official conference of food bloggers held in Europe. What a wonderful weekend it was! Ah, I still can not get myself over it somehow. That one single weekend changed my life. It brought me new friends. It gave me the feeling that I am no longer alone in a blogger world. And it still keeps me thinking about and recalling all joyful moments from those two days. I still did not managed to re-establish my daily routine. And I know, I have not posted in a while. So what was I up to over the past week?


At first. Our broadband at home. Actually, to be clear, no broadband at home! It is another issue actually, which totally changed my daily routine for the whole week. Can you imagine it? No internet connection for a week?! I tried to live without it. However to be honest, it just did not work! Am I an Internet addict? Maybe... Yeah, apparently I am! :) But try it yourself just for two or three days, and you will see...


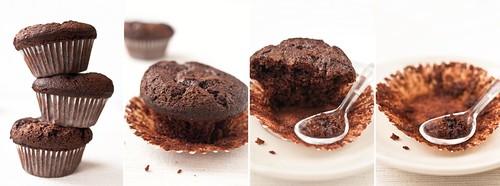
This situation called for an instant solution. What everyone likes? And what does every food blogger do best? Yes, the correct answer is - FOOD! And if it is sweet food, you have a 99% chance of success. I made chocolate muffins as a bribe. And I bribed P's colleagues to let me occupy their office with a super fast internet connection.Problem solved! :)

I was going to the office after one year working from home! Phew, I felt really tired! :) I did not cook much. Though a quick mushroom soup for dinner was enough.

And, of course, we all know that Christmas time is here again. I am christmas lights nut and I just can not imagine Christmas without them. I was excited like a small kid when I have finally installed my lovely christmas lighst to our all year IKEA dried plant decoration. Beautiful. That made my made.

One more pic of my leftovers for lunch, before I go to bed. Yes, it is time for bed. I can not believe it. Is it 3am again? Is anyone stealing time?!

Good night then. I come back with a yummy recipe soon, I promise!


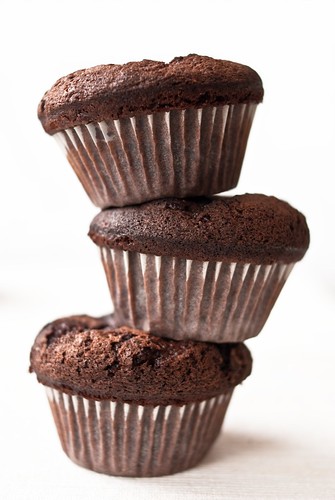
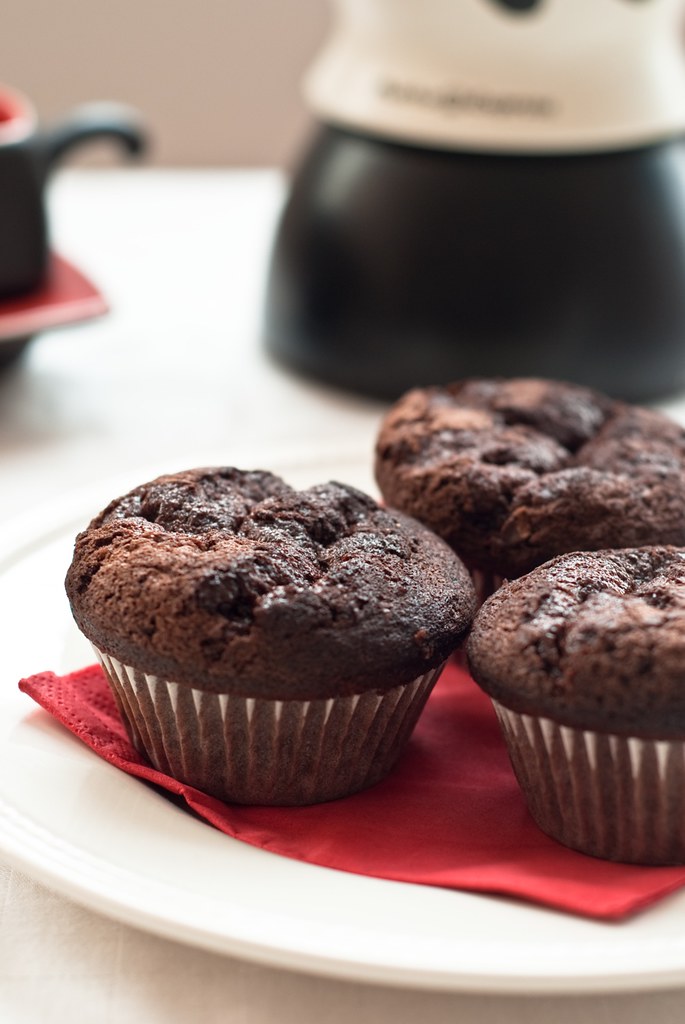
Chocolate muffin story - searching for a moist chocolate muffin recipe - attempt no. 1


I have decided to find the most moist and heavenly good chocolate muffin recipe. Do you know the feeling when you desperately want something sweet? All this endeavour started one evening (almost night) when I had a pretty large sweet tooth, and I was pretty sure about what kind of sweet tooth it was.

Chocolate!

However, I did not feel like eating just a plain chocolate. I knew I wanted something baked with a strong chocolatey taste.


Normally, chocolate cakes are not my favourite desserts, but this time, I would do anything to get at least a piece of it. The problem was, I did not want just any chocolate muffin or cake, I wanted a deeply chocolate and very moist chocolate dessert. And this is it. My moist chocolate muffin recipe hunting started here.


It was about quarter past ten, but it did not seem to be late enough for me. I wanted to bake something straight away. Finally, I found a recipe, and I ran to a local shop to buy all missing ingredients. Phew! I made it. I was a last customer. After I read the recipe more closely, I realised it was not the one! :( It called for a soured cream, however it was only for an icing. In addition, recipe comments were not the best. Well, I had to start again.


I finally found a recipe which seemed to be worth trying in the morning. Now, it was delicious, however not that moist a deeply chocolate as I imagined it to be. What can I do, I have to keep searching and trying.

Chocolate muffins
Makes 12 (standard size)

Ingredients
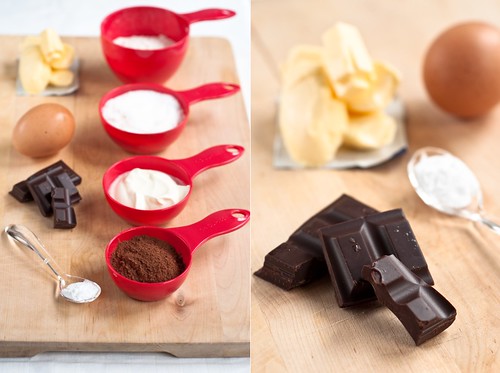
115 g unsalted butter
60g dark chocolate, chopped
42 g unsweetened cocoa powder
105 g all-purpose flour
1/2 tsp baking soda
3/4 tsp baking powder
2 large eggs
145 g sugar
1 tsp vanilla extract
1/2 tsp salt
120ml sour cream

1 Preheat oven to 175C. Line muffin tin with muffin liners.

2 In a heatproof bowl mix the butter, chocolate and cocoa powder. Set the bowl over a saucepan of simmering water. Heat the mixture until the chocolate and butter are melting. Whisk until fully combined. Set aside to cool, just warm to touch.

3 Mix the flour with the baking powder and baking soda.

4 Beat the eggs in another bowl, add the sugar vanilla and salt and whisk until creamy and fully incorporated. Add the chocolate mixture and stir well. Gradually add flour mixture, one third at a time. Whisk in sour cream until combined and the mixture is thick and creamy.

5 Spoon the batter into the prepared muffin tin. Bake about 18-20 minutes, until the skewer inserted in to the centre of the muffin comes out completely clean.

6 Cool muffins on wire rack until cool enough to handle. Carefully lift each muffin from the tin and set on wire rack to cool completely.